How to connect Email, Text Parser and Google Sheets
Scenario: Capture an email body in two separate tables in a spreadsheet using Regular Expressions (Regex) as search patterns. In this tutorial, the first pattern will search for a phrase and the second will search for the same phrase and an email address.
Level of difficulty: Medium (requires basic knowledge of Regular Expressions). Learn more about Regex.
Implementation Time: Approximately 20 Minutes

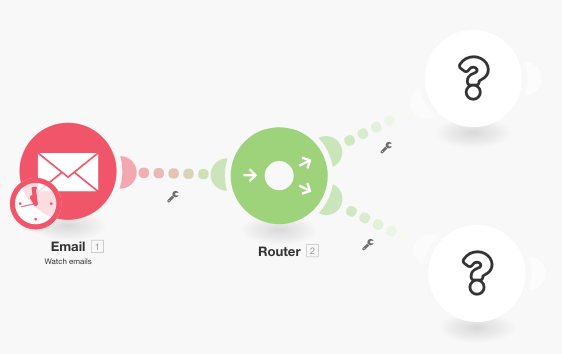
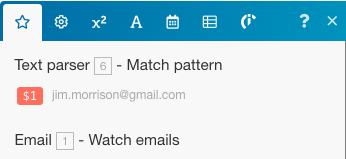
The scenario that we will create in this tutorial will look like snapshot above.
Step 1: Adding and configuring Email module
-
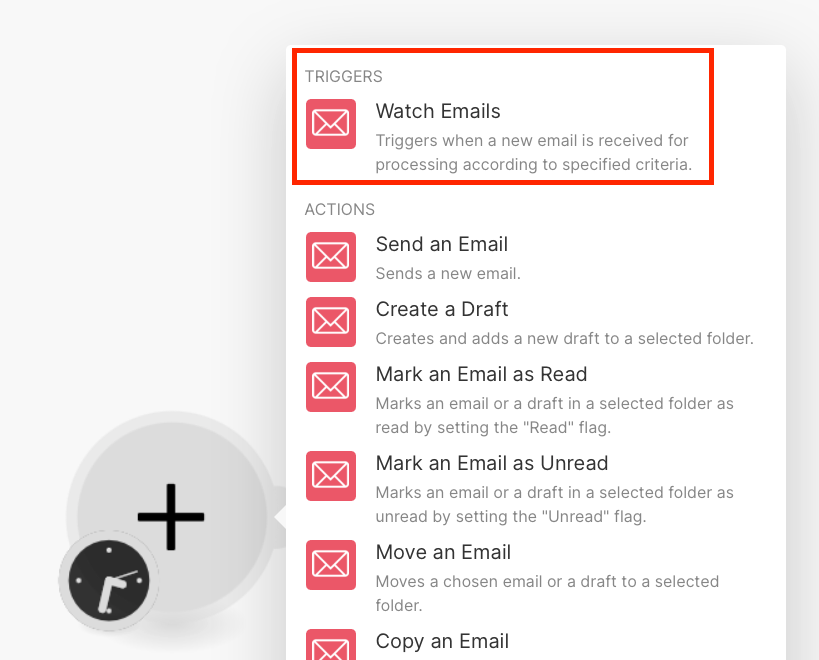
Search for Email and choose Watch emails as the Trigger.
Note
You can connect a Google account using the Email module. You can also use the inbuilt Gmail module instead.
-
Connect either a Google account or any other IMAP based email client (Hotmail, Outlook, Zoho etc). We use a Google account as an example.
-
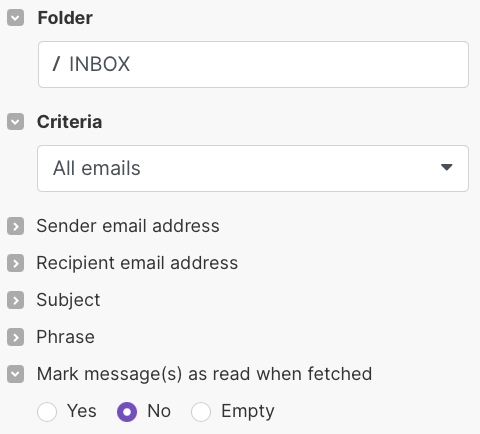
Once connected, select a Folder whose incoming emails you wish to watch (e.g. all email, inbox).
Under Criteria, choose if you want to watch all emails, or if you want to narrow it down to only read or only unread email.
You can filter emails by the Sender email address, Recipient email address, Subject and Phrase, which enables you to watch only relevant emails.
You can also choose to mark fetched emails as read or unread.
-
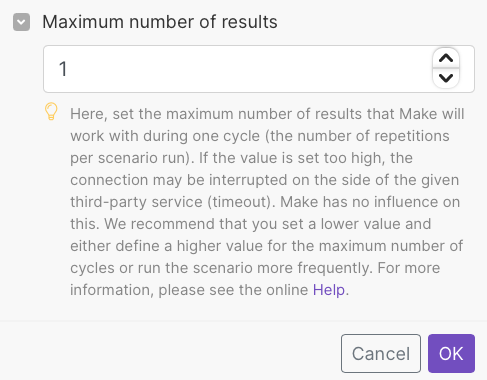
Set the Maximum number of results based on the volume of messages you receive. We recommended setting a low value and run the scenario more often.
-
Click OK to save your settings.
-
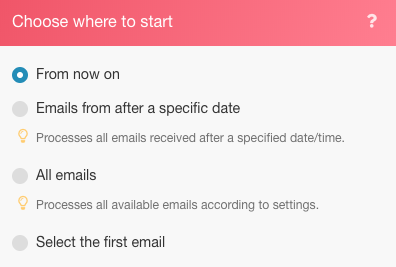
Once the configuration is done, the system asks you to choose where to start watching your emails. Click OK to confirm.
Step 2: Search for Flow Control and add a Router
You can add router after any module to split or duplicate the data before sending it to the next module. Here, we have used a Router to send the Email body text to 2 separate tables in a Google Sheet. More on that in the next step.
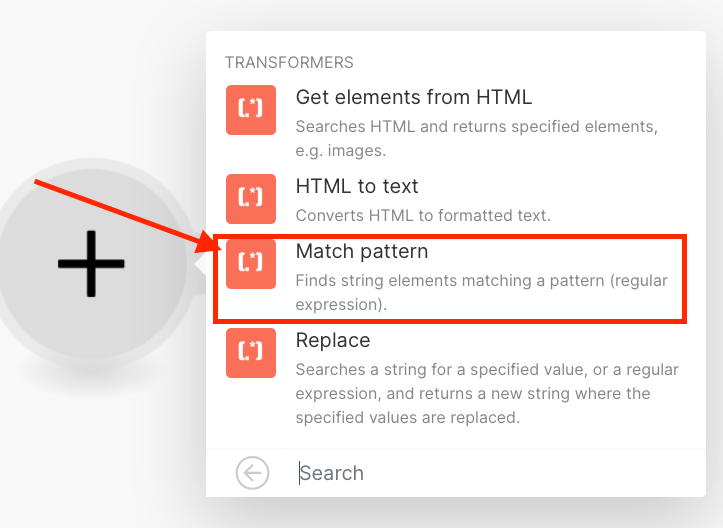
Step 3: Using Text Parser Module
-
Add Text Parser > Match Pattern transformer to search for a phrase in an email.
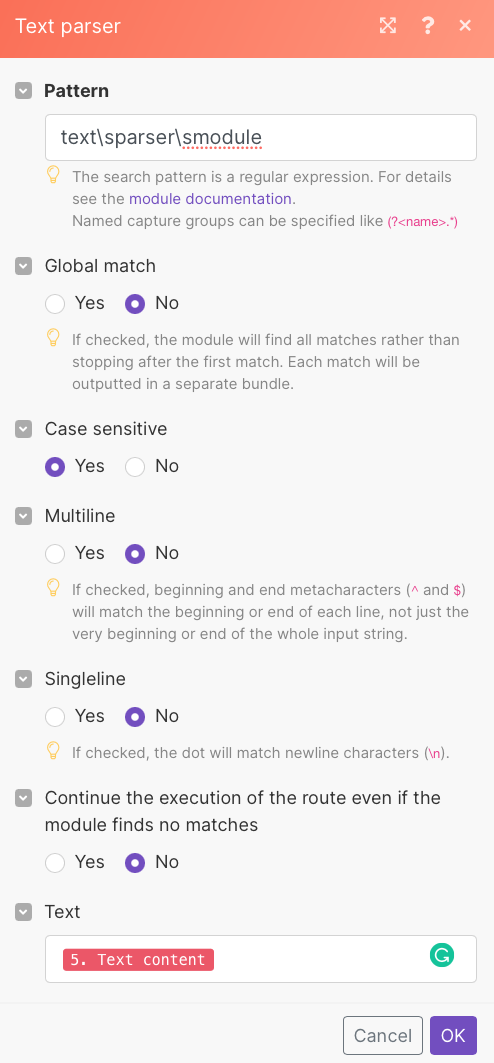
-
Enter Pattern. The search pattern is a regular expression and has to be written as text\sparser\smodule
Multiline is useful if your text contains several lines and you need to search for the pattern in each line. For this tutorial we need to search for the pattern in the entire email body text, hence we will leave it unchecked.
-
In the Text field, select the attribute ‘Text content’ from the list. This attribute stores the text from the email body in which we will search for the pattern. Click OK to save.
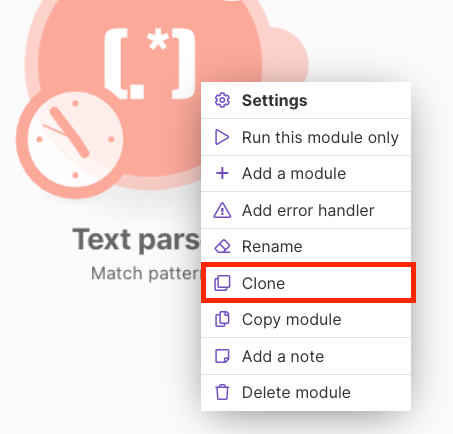
-
Add another Match Pattern that searches for the same phrase and an email address. This is particularly useful if you have customer accounts with multiple users. To save time, simply clone the Text Parser module you just created and link it to the Router.
-
Edit the pattern as below:
text\sparser\smodule.+\s([\w.-]+@[\w.-]+)
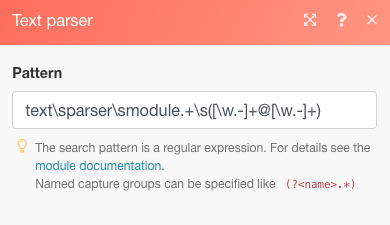
This pattern searches for the phrase “text parser module” and an email address like jim.morrison@gmail.com and returns only the email address. It’s important to write your regex in accordance with the specification of the email addresses you accept.The pattern above works for most standard email addresses, e.g. name.surname@gmail.com.
Please note that while it’s important to write your regex in accordance with the specification of the email addresses you accept, the one above takes care of most standard email addresses.
-
To search only for email address, use the regex below:
([\w.-]+@[\w.-]+)
-
To search only for phone numbers using the regex below:
^[+]?\(?(\d{1,3})\)?[\s-]?\(?(\d{3})\)?[\s-]?\d{3}[\s-]?\d{3,4}
The above pattern takes care of most common formats in which a phone number is written.
To test your patterns, we recommend using https://regex101.com with javascript as the Flavor.
The rest of the configuration remains the same as the one before.
-
Step 4: Add Google Sheets Modules
Note
Instead of Google Sheets, you may use another app like Airtable or a CRM such as InfusionSoft.
-
Create a spreadsheet with the columns under which want to capture the user data. You can also use an existing file.
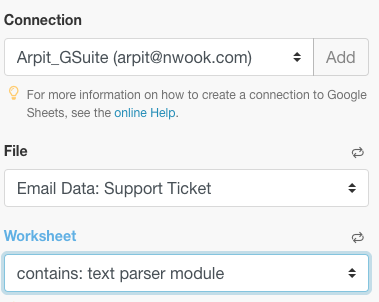
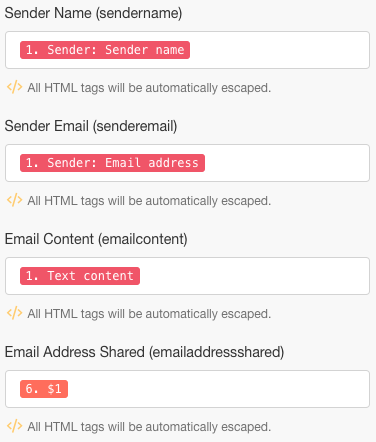
As an example, we have created one called “Email Data: Support Ticket” with Sender Name, Sender Email and Email Content as columns. We have named the worksheet ‘contains: text parser module’.
-
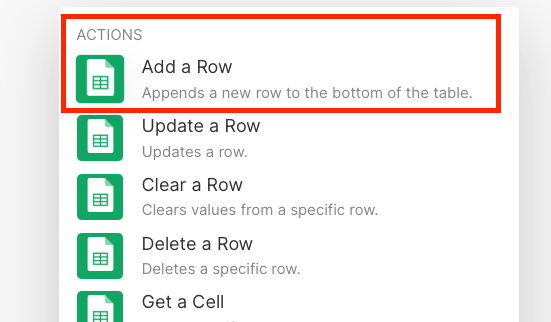
Add the Google Sheets > Add a row module.
-
Connect your Google account (if you haven’t already). Choose the File you created earlier, followed by choosing the Worksheet in which you’re capturing the data. My setup looks like this:
-
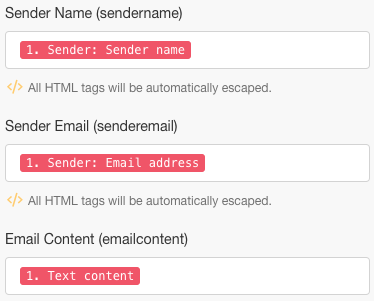
Map the attributes in the relevant fields (columns) to finish the module setup.
Step 5: Clone Google Sheets module and linking it to the second Text Parser module
-
Go to your Spreadsheet, duplicate the worksheet you created earlier and give it a name.
-
Add another column to store the email address that the email body contains.
-
Click on the cloned Google Sheets module to configure the setup.
-
Change the worksheet to the new one you just created.
-
Map the output from the Match Pattern module ($1) to the column where you wish to store the email address.
-
Click OK, save the scenario and run it to test.
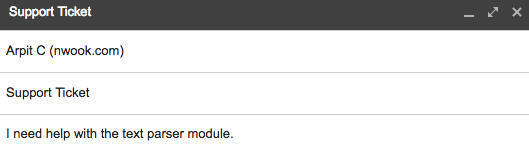
Send two separate emails to the connected email address as follows:
-
Containing the phrase “text parser module” (and no email address)
-
Containing the above phrase and an email address.
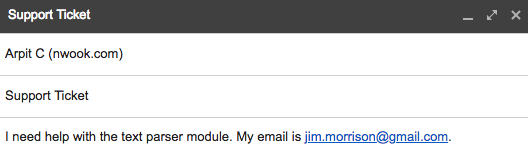
If there are no errors in your setup, the first worksheet captures all emails containing the phrase “text parser module”. The second worksheet captures only those that contain the phrase “text parser module” and an email address. You may refer to the screenshots below.
Worksheet 1

Worksheet 2

-
Learn more
Free exercises to learn about Regular Expressions
Learn about Phone Number Matching using Regex