Scenario editor
Ibexa Connect visual scenario editor enables you to create and edit scenarios.
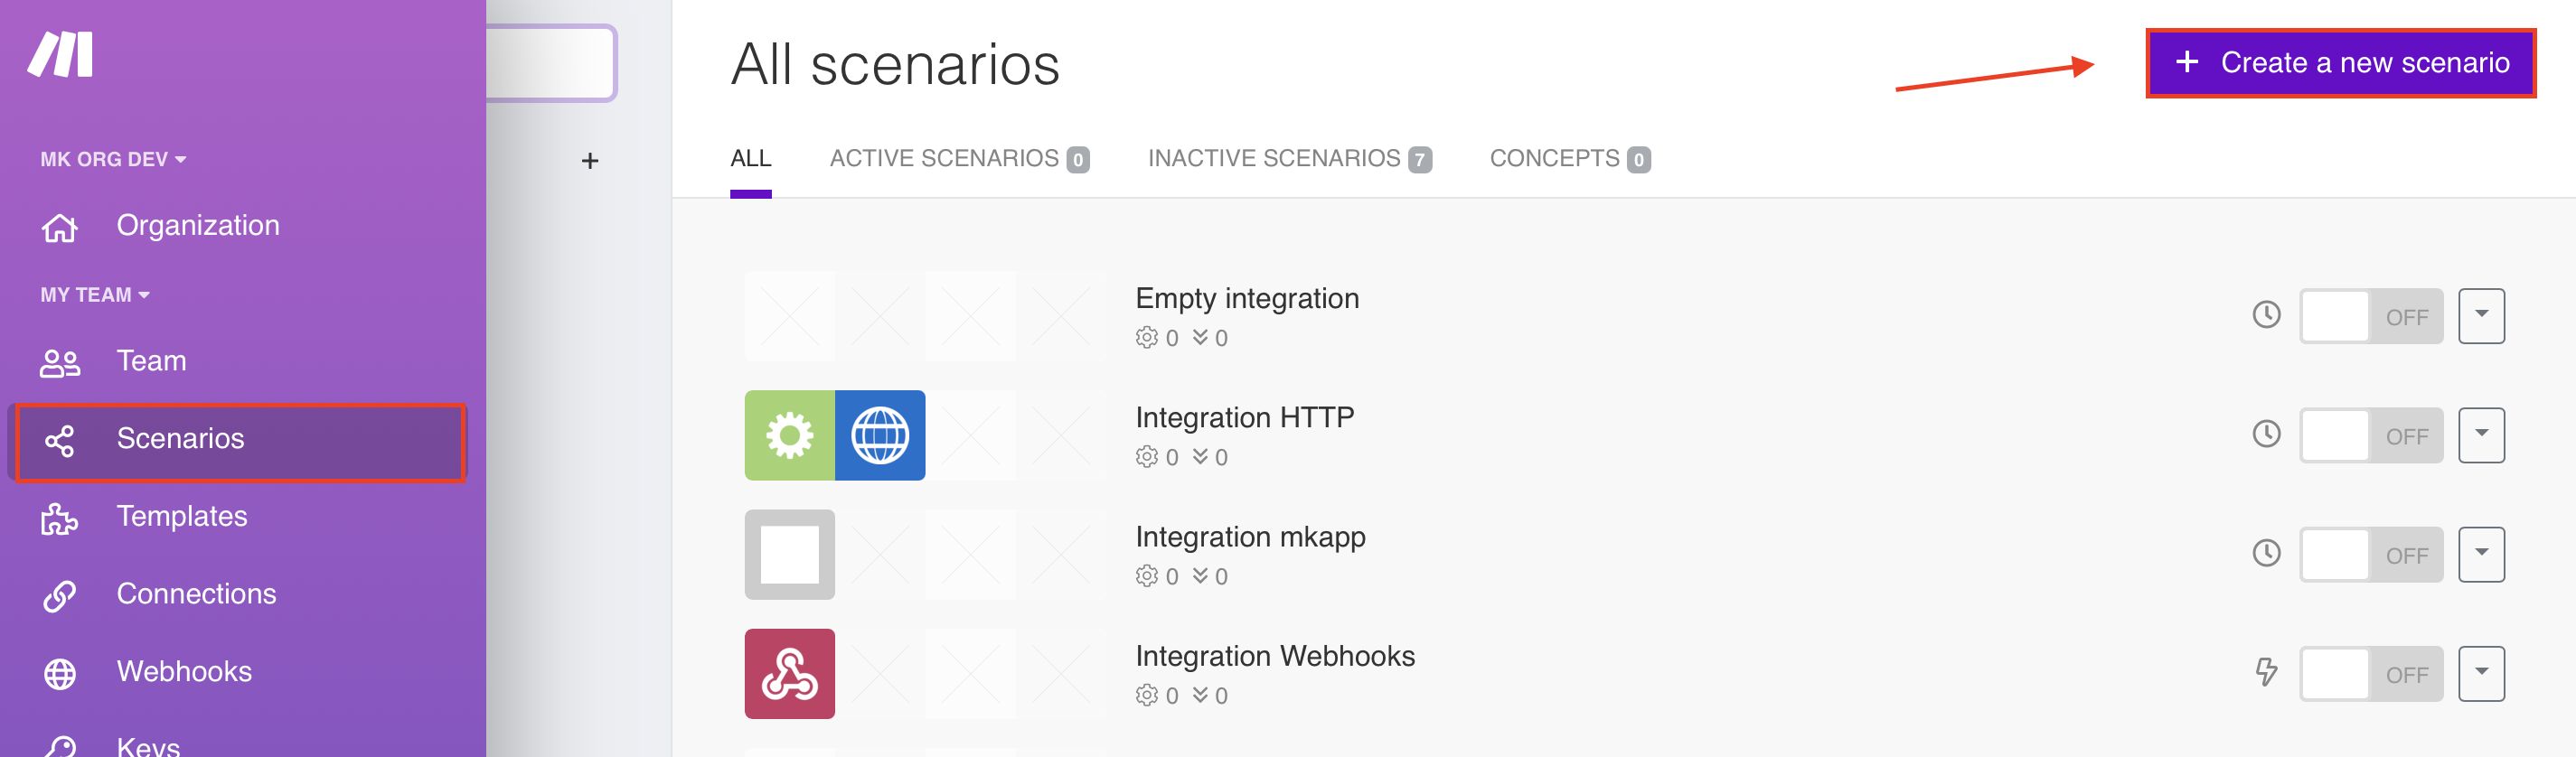
Go to Scenarios and click Create a new scenario to open scenario editor.
Select Edit to edit an existing scenario, or click anywhere on the page of the existing scenario to open the scenario editor.
Below is a list and explanation of all of the elements in the scenario editor.
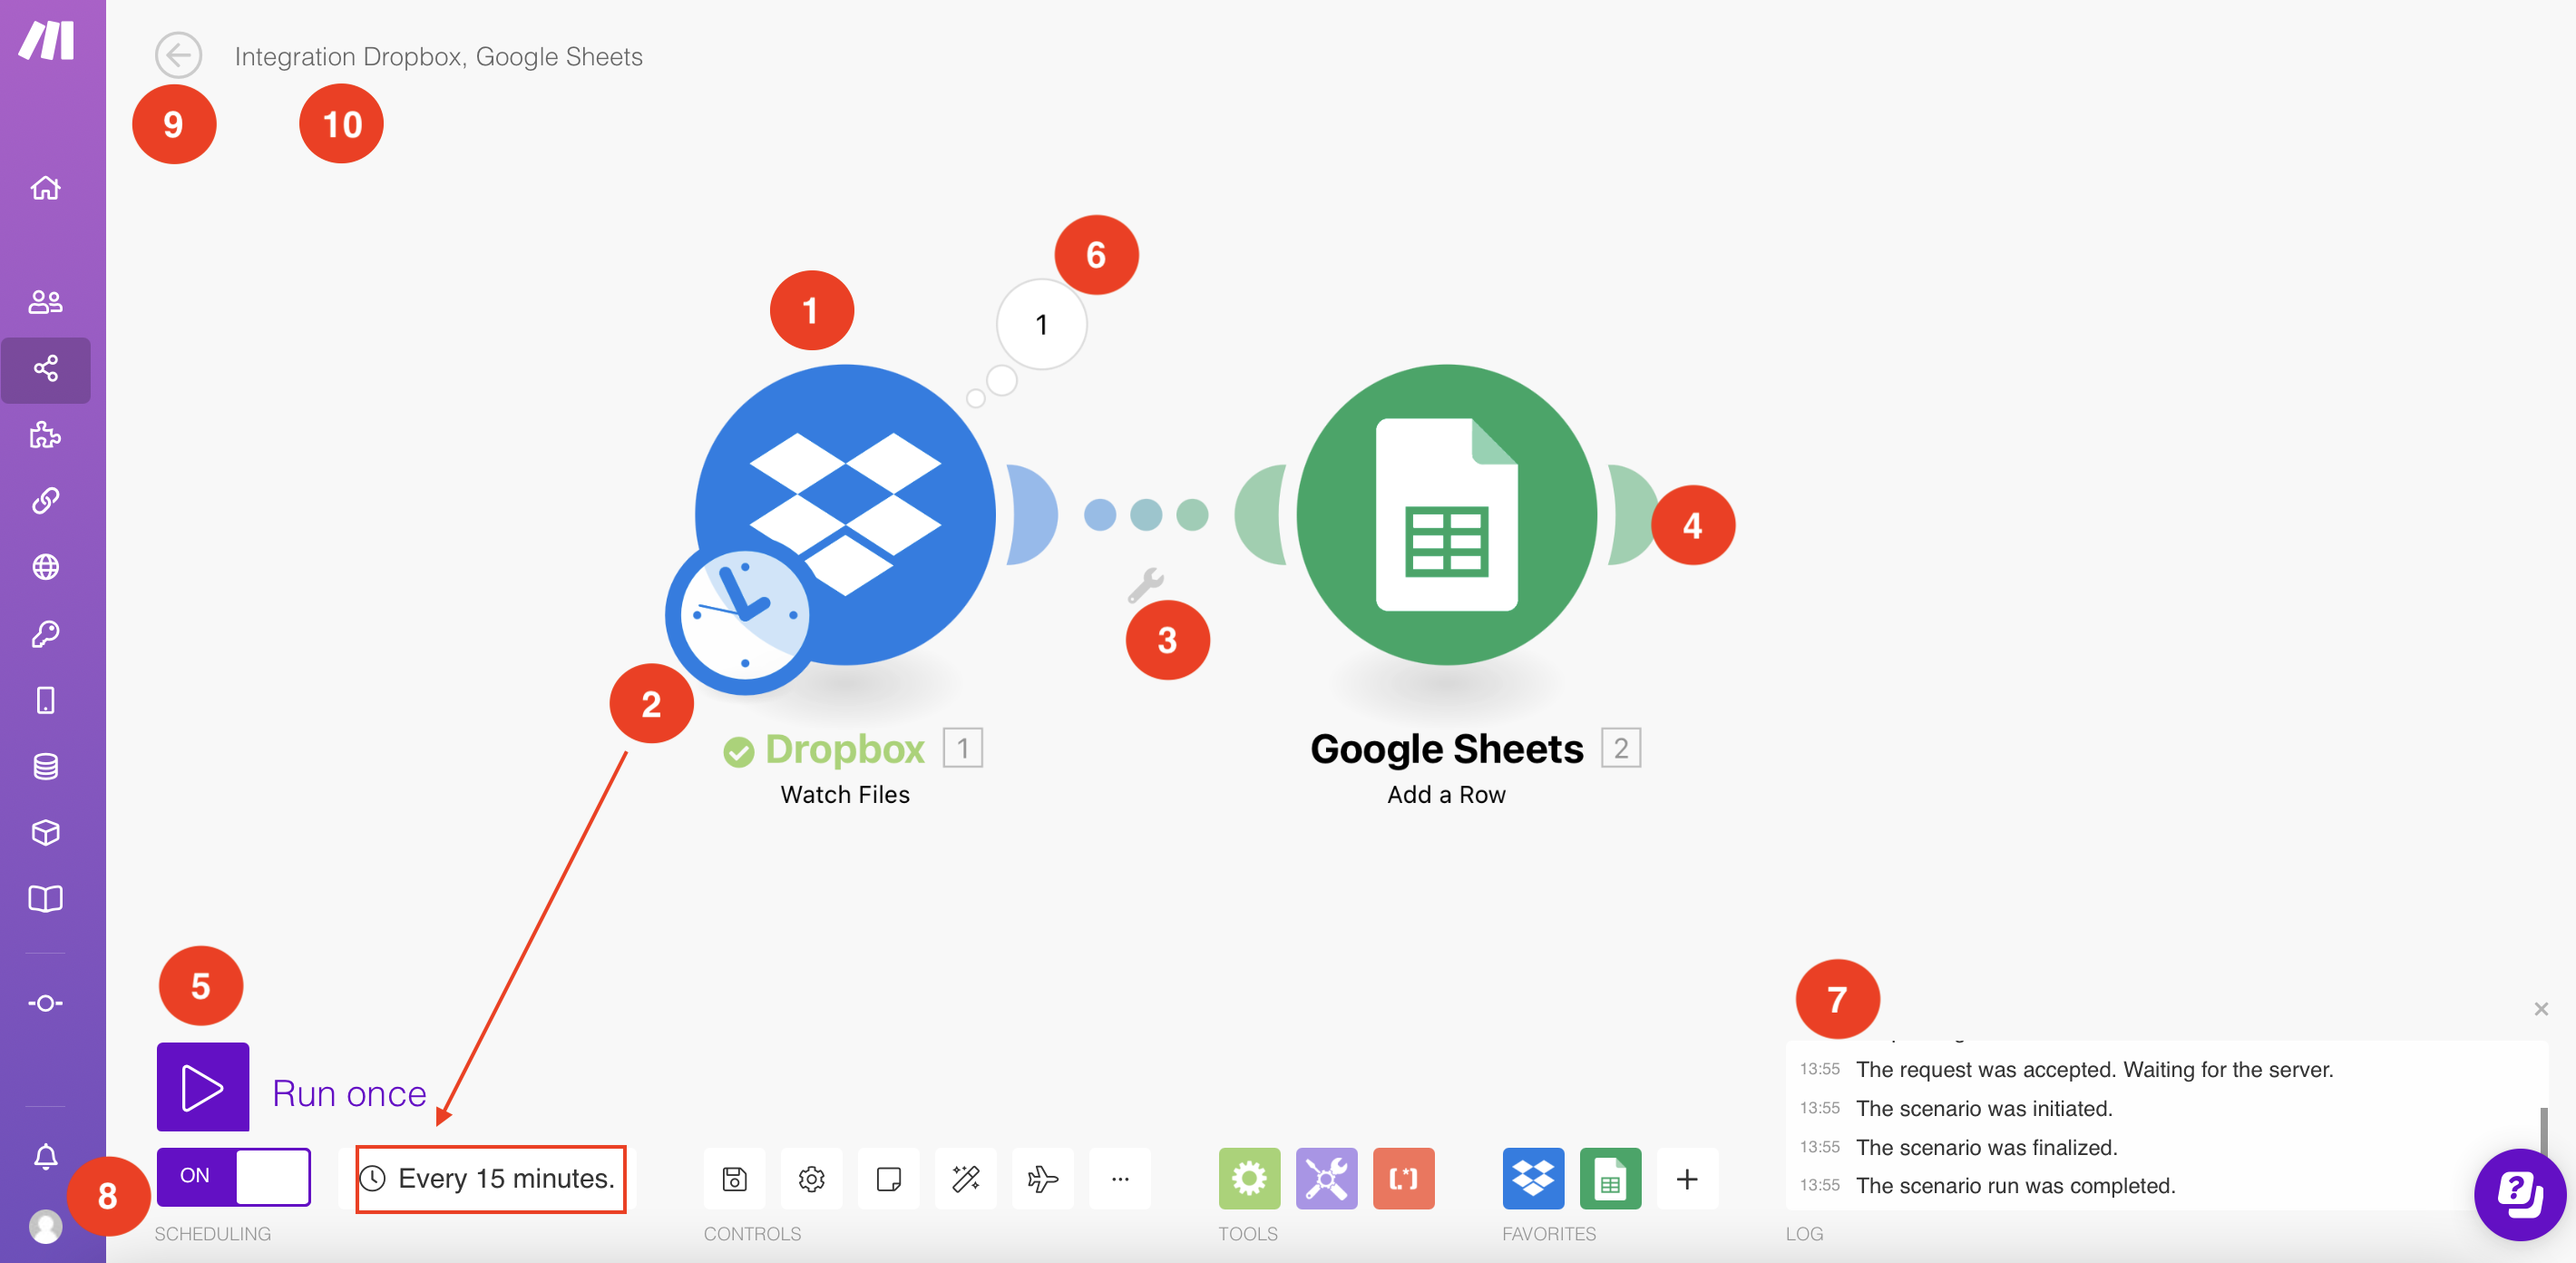
1 - Module
Modules in Ibexa Connect represent individual steps in your automated process. There are different types of modules.
There is no limit to the number of modules you can add to your scenario.
In order for Ibexa Connect to communicate with a given app, you need to create a connection.
Depending on the module you have selected, right-click the module to open the following options:
-
Run this module only
-
Add a module
-
Add error handler
-
Rename
-
Close
-
Copy module
-
Add a note
-
Delete module
2 - Schedule settings
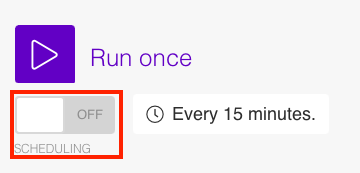
The schedule settings panel lets you adjust the running schedule of your scenario. By default, a scenario runs every 15 minutes. This panel allows you to customize the frequency and timing of your scenario. Click the clock to schedule a scenario. You can also access schedule settings via the toolbar by clicking the Schedule settings.
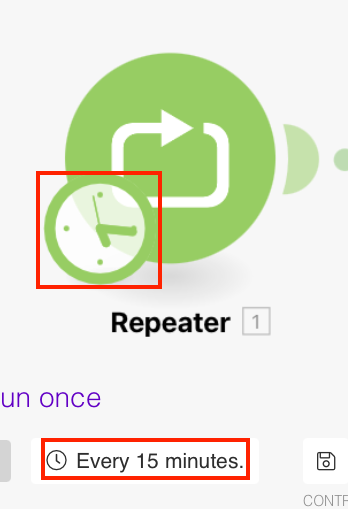
The clock represents a scheduled trigger, the starting point of your scenario. A scenario can also start with an instant trigger, which is visually represented as lightning ( ). Learn about different types of triggers.
3 - Setting up a route
A route is a connection between two modules, visually represented as a dotted line.
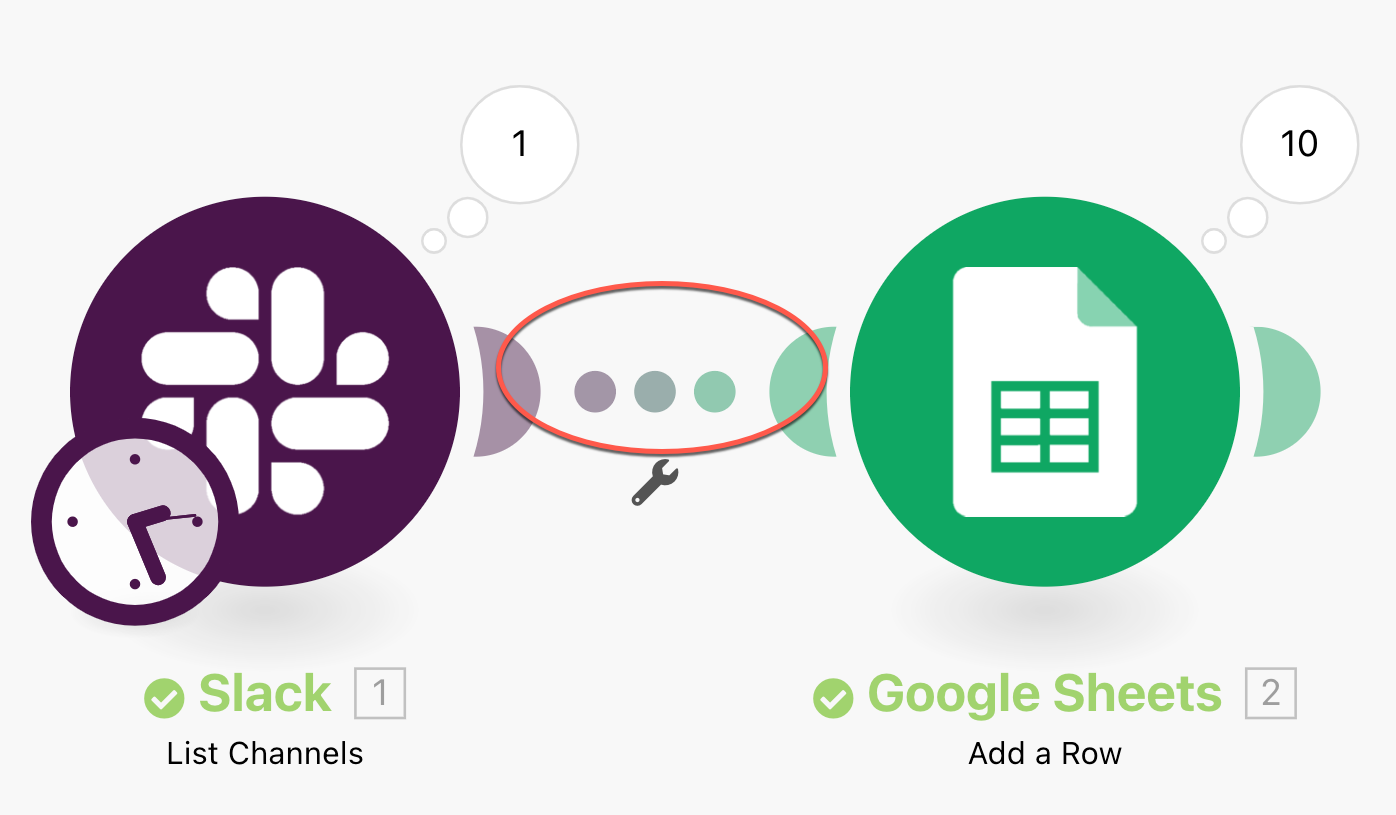
Click the wrench ( ) below the route connecting two modules to display the following options:
-
Set up a filter - Filters bundles according to specific criteria. You can also access this option by clicking the route connecting two modules.Bundle
-
Unlink - When you unlink a module, it will not be executed, unless it is a trigger.
-
Add a router
-
Add a module
-
Add a note
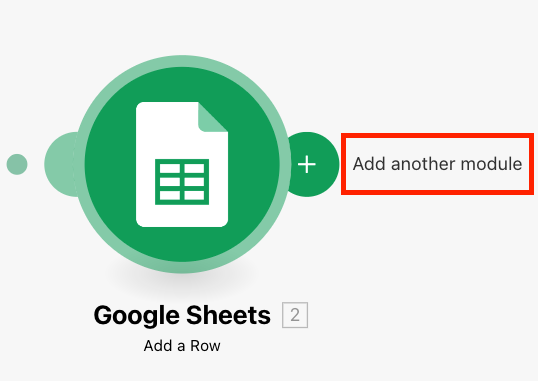
4 - Adding/removing a module
To add a module, hover over the right handle of a module until the plus sign appears. Click the plus sign to create an empty module. A menu with a list of app/services appears, allowing you to add another module to your scenario.
To remove a module, right-click the module you want to delete and select Delete module.
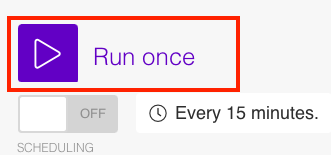
5 - Run once
Once you configure your scenario, click Run once to test your scenario. After your scenario executes, you can see the number of operations, as well as more details in the log.
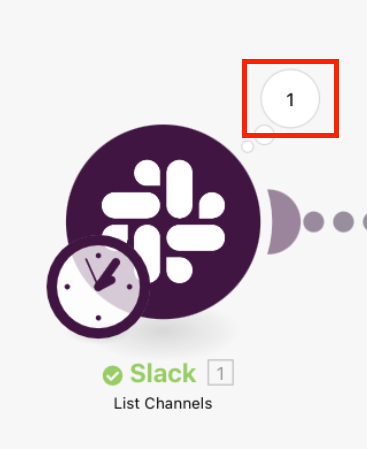
6 - Number of operations
An operation is a task performed by a module. Once the scenario is executed, Ibexa Connect displays the number of operations performed by each module in the white bubble on the top-right of each module. Click the bubble to inspect the results of the module's operation.
Ibexa Connect charges you according to the total number of operations performed by the modules in your scenario. For more information, check how to count the number of operations.
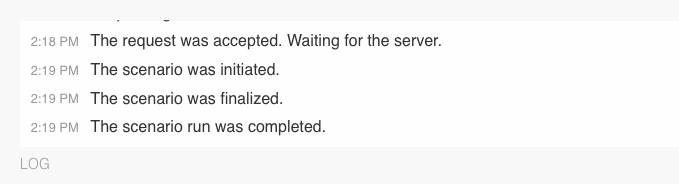
7 - Log
The log records every event that occurs during a single run of a scenario and records it for the scenario execution history. The log contains information about each step and any errors encountered during the execution of the scenario.
8 - Scheduling
If everything works properly, you can activate the scenario. Select ON to activate your scenario or OFF to deactivate the scenario.
Learn about the difference between active and inactive scenarios.
If your scenario does not run as expected, check our error handling section.
9 - Exit editing
Click the left arrow in the top-left corner to close the scenario editor and return to the scenario detail page.

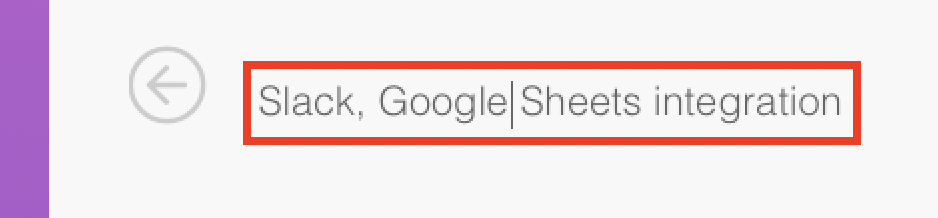
10 - Scenario name
To rename a scenario, click the scenario name in the top left corner and edit as desired. Press Enter or click outside the edited field to save the scenario under a new name, and click the save icon ( ) to save the new name.
Scenario toolbar
In this section, you can find more information about Controls, Tools, and Favorites.

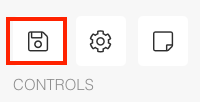
1 - Save
When you finish editing a scenario, click the save icon () to save the current scenario settings.
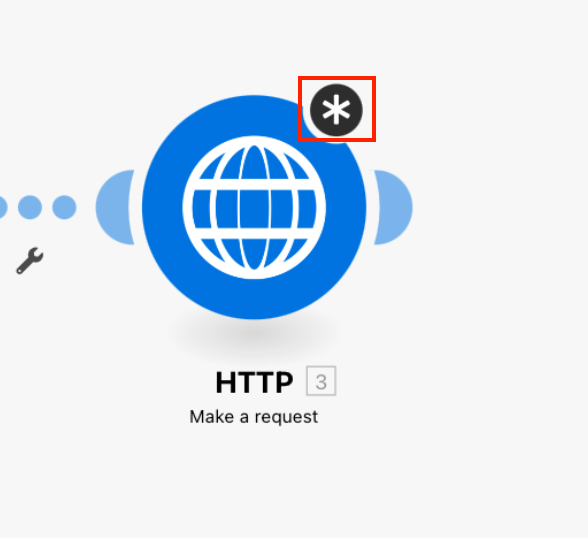
Caution
A scenario does not save automatically. If you do not save the scenario and exit it, a pop-up window appears prompting you to save your changes. If module settings are not saved, an asterisk ( ) displays on top of the module, until you press Cancel to discard or OK to save your changes in module settings.
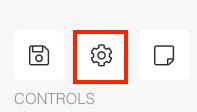
2 - Scenario settings
Click the gear to open the scenario settings.
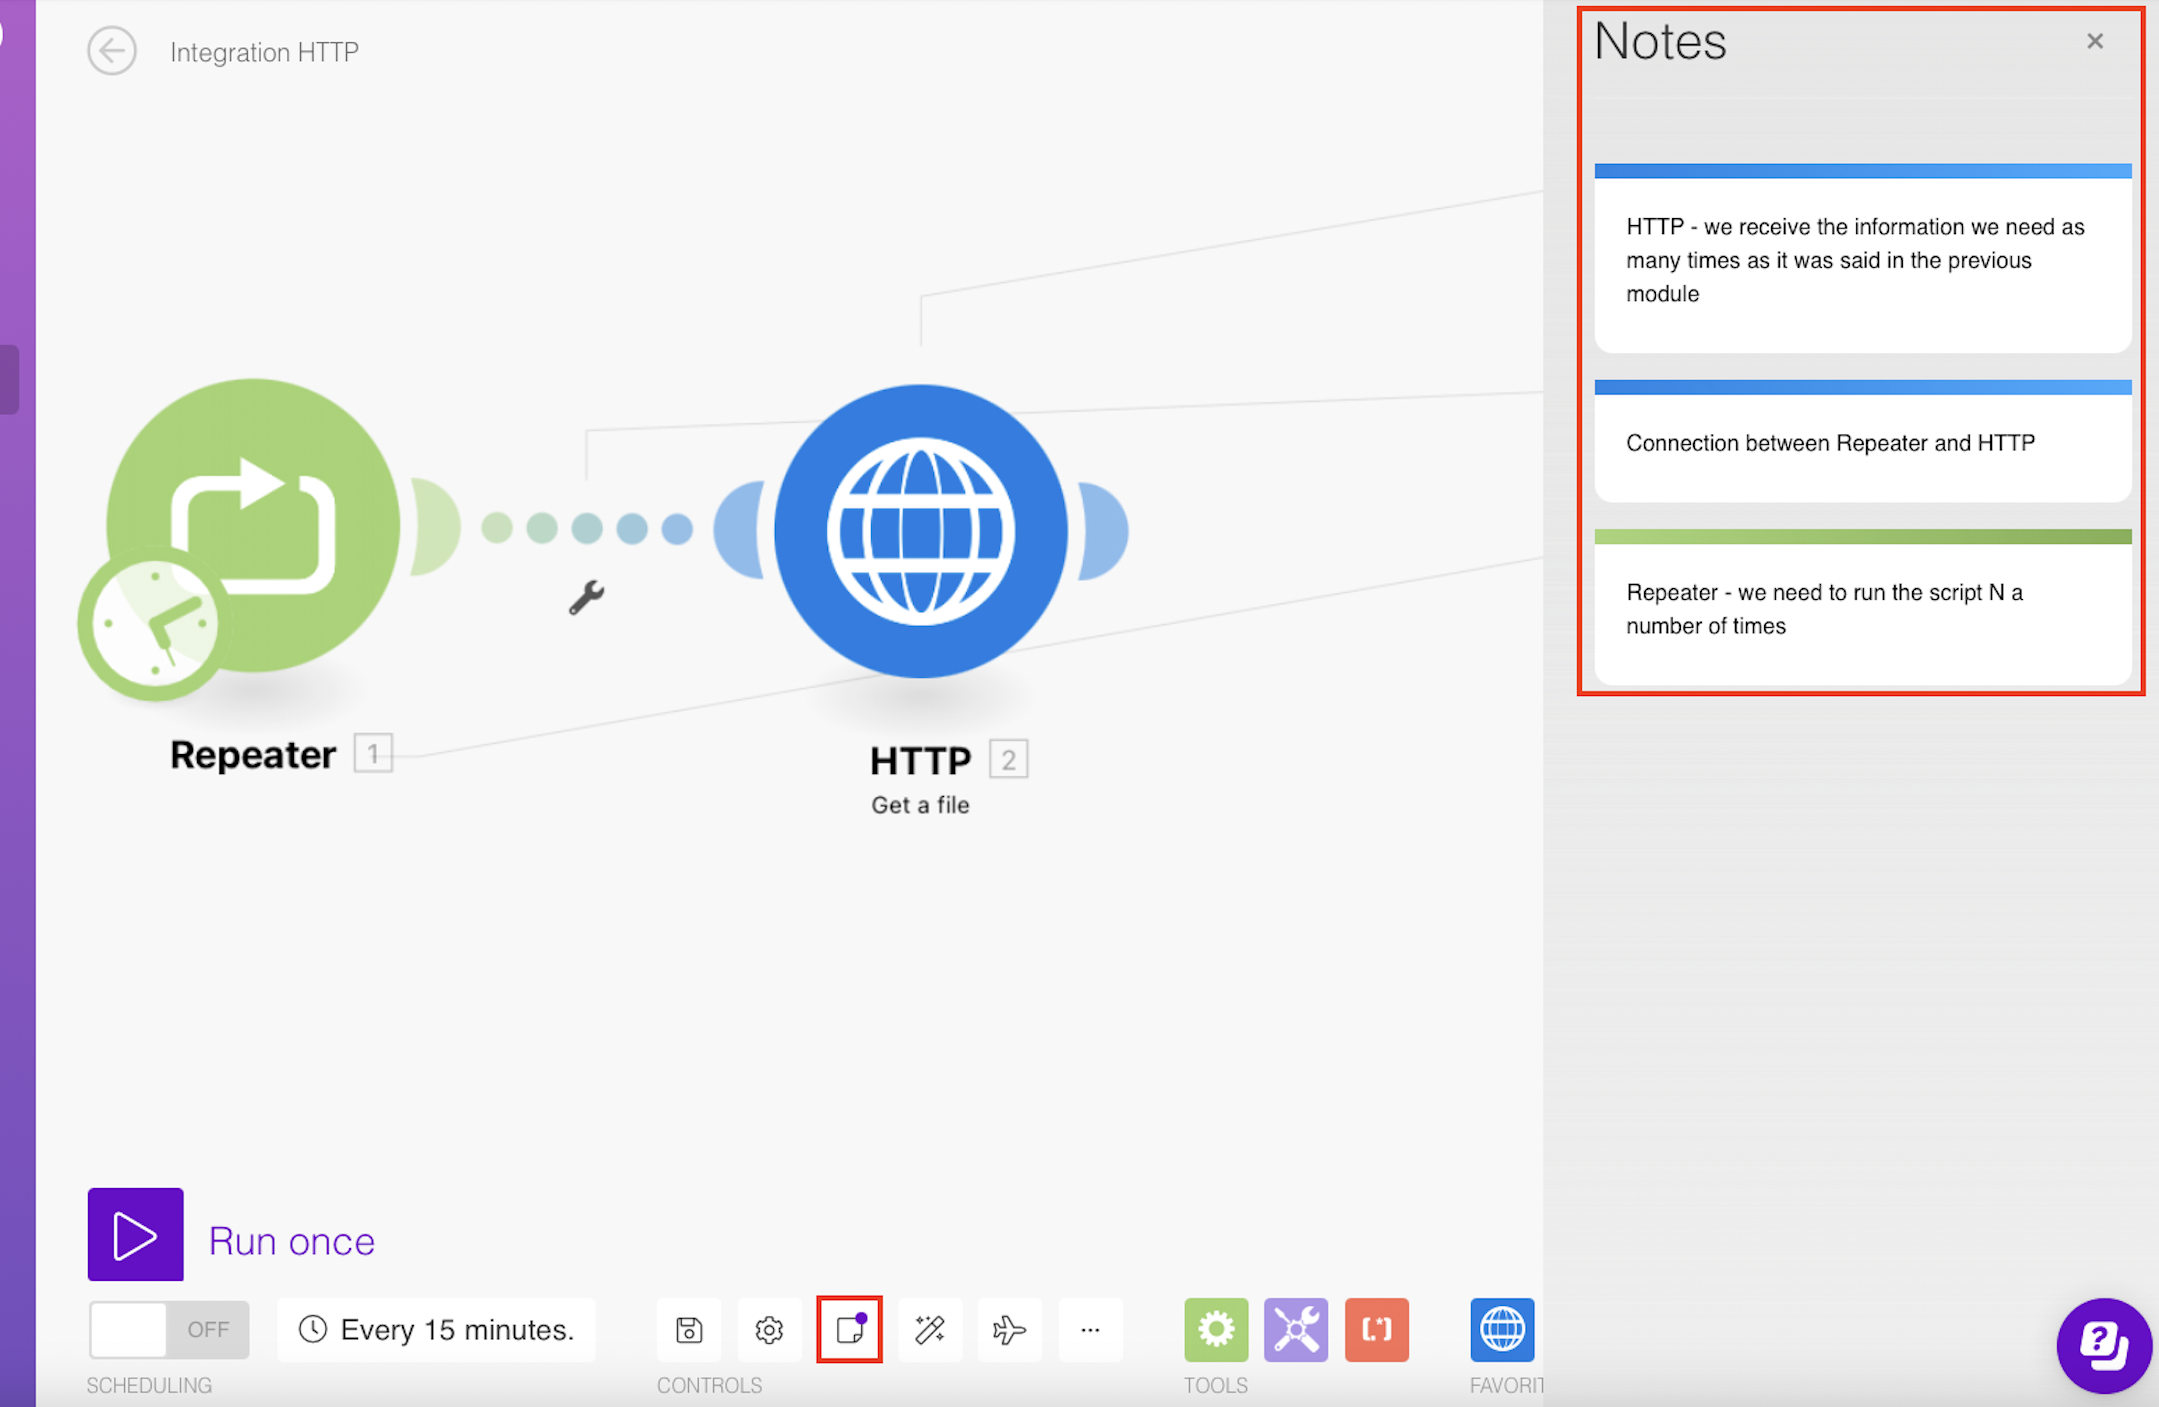
3 - Notes
To add a new note to the module or route (the connection between two modules), right-click the module or click the route you want to add a note to and select Add a note.
Write your note in the allocated space. You can add an unlimited number of notes.
Click the page icon to show or hide notes that have been added to modules in your scenario.
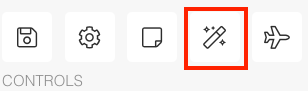
4 - Auto-align
Caution
This action is not reversible unless you saved the scenario before using this function.
Ibexa Connect gives you the possibility to create highly sophisticated scenarios with many modules. Click the magic wand to adjust the overall layout of the modules in the scenario so you can see them aligned.
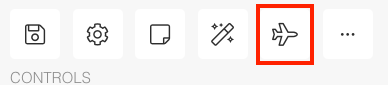
5 - Explain flow
Click the airplane before running the scenario to see your data flow between modules.
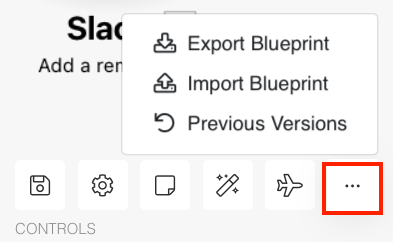
6 - More
Click the three dots to open the following menu:
-
Export Blueprint - Allows you to save the scenario blueprint in the JSON format to your computer.
-
Import Blueprint - Allows you to load the scenario blueprint in the JSON format from your computer.
-
Previous Versions - Allows you to restore a previous version of the scenario. Learn how to restore a previous scenario version.
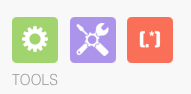
7 - Tools
Tools section includes:
-
Tools
-
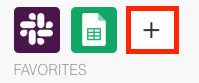
8 - Favorites
Favorites section lists your most commonly used apps for easy access. The list grows as you add more apps to your scenario. You can also add apps directly to the list by clicking the plus.