Connecting Ibexa Connect to Google services using a custom OAuth client
In this article, we will show you how to create your own project in Google Cloud Console and a custom OAuth client. This is useful for connecting restricted Google services, like Google Drive or Gmail*,* to Ibexa Connect.
Note
The following procedure is intended for:
- Personal use (@gmail.com and @googlemail.com users)
- Internal use (Google Workspace (formerly GSuite) users that prefer to use a custom OAuth client)
Prerequisites:
- a Google account
Follow these steps to create a custom OAuth client for Google services:
Note
You will not be charged when selecting this option. For more details, refer to Google's Exceptions to verification requirements.
For the Scopes section:
Click the Add or Remove Scopes button to add the required scopes.
Enter the required scopes for the Google service you want to connect to Ibexa Connect by checking the corresponding box for each required scope.
For the Test Users section:
Note
The Optional Info section is displayed only for non-Google Workspace users and does not contain any required fields.
Caution
This step is required, otherwise, you won't be able to establish a connection with Ibexa Connect.
Click Add users to add the email address associated with the Google account you want to connect to Ibexa Connect.
-
Sign in to Google Cloud Platform using your Google credentials.
-
Open the Dashboard, and click the CREATE PROJECT button.
-
Choose a name for your project, then click Create.
-
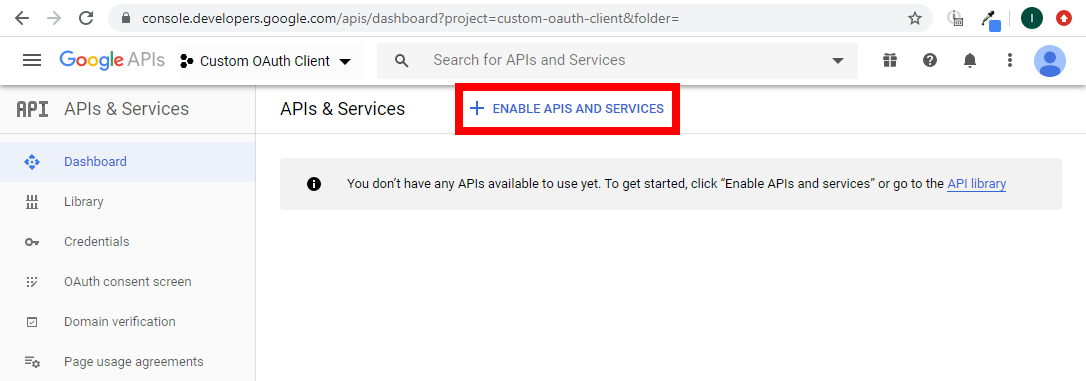
Click Enable APIs and services.
-
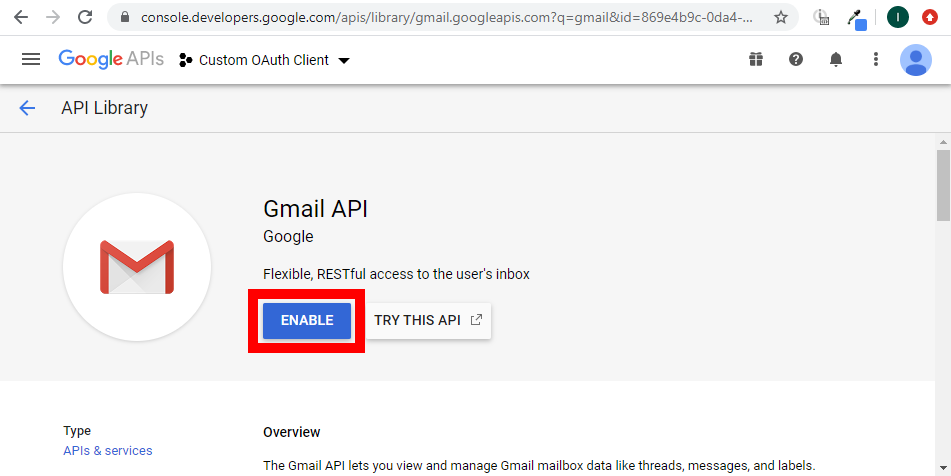
In the Enable APIs and services field, enter the name of the service you want to use (for example, Gmail API or Google Drive API).
-
The desired service option should display as you type. Click the API/service you want to connect to Ibexa Connect.
-
Click Enable.
-
Go to APIs & Services > OAuth consent screen settings, choose the External option, then click Create.
-
Fill in the required fields as follows:
For OAuth consent screen section:
Application name Enter the name of the app asking for consent.
For example,Ibexa Connect.User Support Email Select your email. Authorized domains integromat.commake.comDeveloper contact information Enter your email. -
Open the Credentials settings page.
Note
If this is not the first API/SERVICE (Gmail or Google Drive) you have enabled, you don't have to create credentials, as you have already created the credentials previously.
-
Click + Create credentials, and select the OAuth client ID option.

-
Fill in the required fields as follows, then click Create.
Application type Web applicationName e.g. Ibexa ConnectAuthorized redirect URIs Add one of the following URIs:
* https://www.integromat.com/oauth/cb/google-restricted for Gmail or Google Drive
* https://www.integromat.com/oauth/cb/google/ for other Google apps
* https://www.integromat.com/oauth/cb/google-custom for Google Text-to-Speech
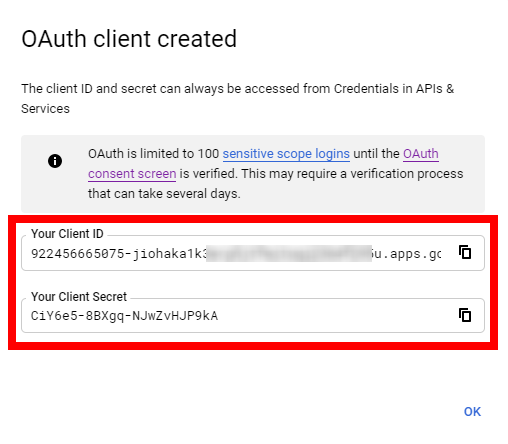
* https://www.integromat.com/oauth/cb/app for any app created via the Ibexa Connect Developer Platform OAuth redirect URI domainNotice that the redirect URI starts with https://www.integromat.com instead of https://www.make.com. This is currently a known issue in Ibexa Connect.You can trust this URL as much as any Ibexa Connect URL. -
A dialog containing the app's Client ID and Client Secret is displayed.
-
Go to your Ibexa Connect scenario and choose the Google module you want to use.
-
Next to Connection, click Add.
-
Click Show advanced settings.
-
Enter the Client ID and Client Secret you retrieved in step 14 (above) to the respective fields, then click Continue.
-
Sign in with your Google account.
-
The This app isn't verified window appears.
Note
The app = your OAuth client you have created above
Click on Advanced, and then on the Go to Ibexa Connect (unsafe) link to allow access using your custom OAuth client.
-
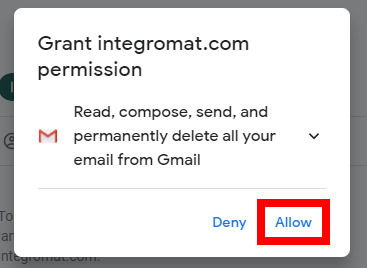
Click Allow to grant Ibexa Connect permission.
-
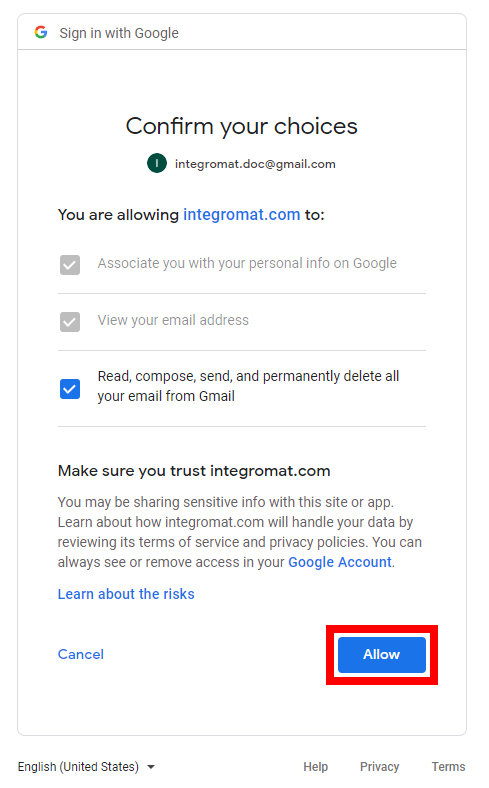
Click Allow to confirm your choices.
You have now established the connection to the desired Google service using a custom OAuth client.
Common Problems
100 Logins Limit Per Day Has Been Reached
This happens rarely, but when it does, we recommend creating another OAuth client.
[403] Access Not Configured
If this error message appears, you need to enable the corresponding API in your Google Cloud Platform.
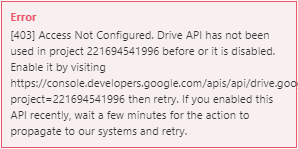
To enable the API, follow the steps described above.
Authorization Error - Error 403: access_denied
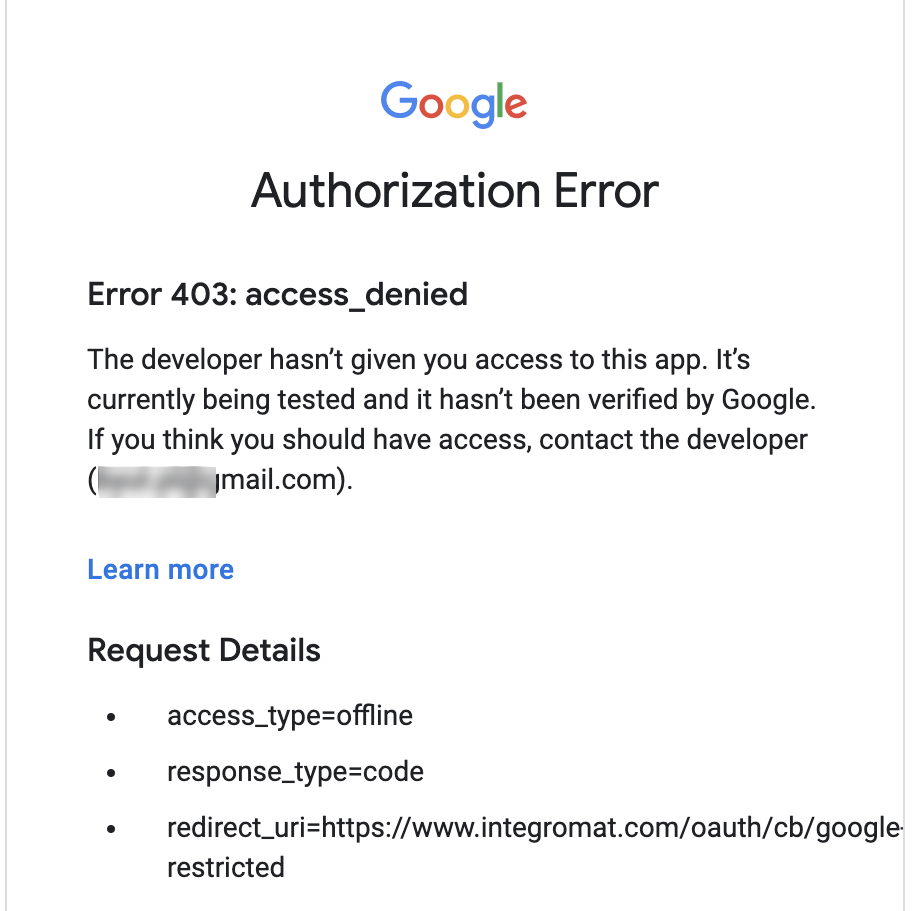
Google has added the required settings for the Consent screen. You'll need to add the email address associated with the Google account you want to connect with Ibexa Connect as a Test user.
-
Sign in to the Google Cloud Platform using your Google credentials.
-
Go to APIs & Services > OAuth consent screen.
-
In the Test Users section, click Add users to add a test user. Enter the email address associated with the Google account you want to connect with Ibexa Connect, and click Save.
-
Now, go to Ibexa Connect and connect to the desired Google service.
Failed to verify connection 'My Google Restricted connection'. Status Code Error: 400
Your connection has expired and is no longer valid. You need to reauthorize the connection.
This error affects non-Google Workspace accounts. For more details please refer to the Google OAuth documentation.
Solution
Reauthorize your Google connection by following these steps:
-
Log in to Ibexa Connect.
-
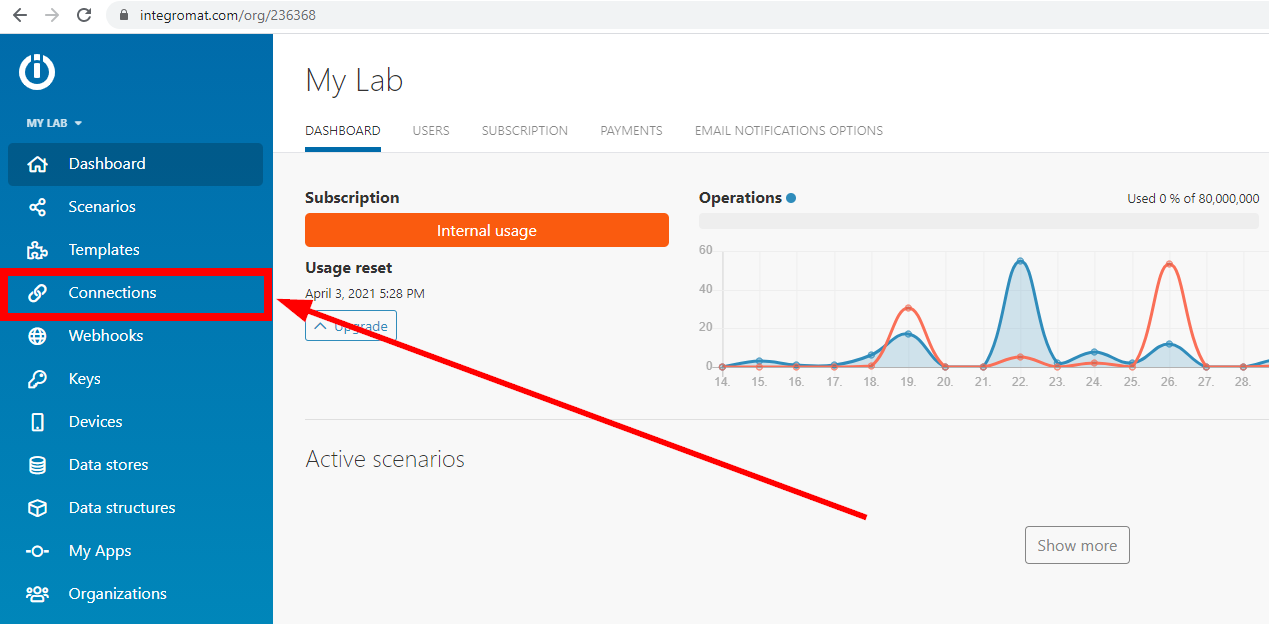
Go to Connections.
-
Find your Google connection and click Reauthorize button.

Note
To prevent the expiration of your Google connection, we suggest you to reauthorize the connection every week.