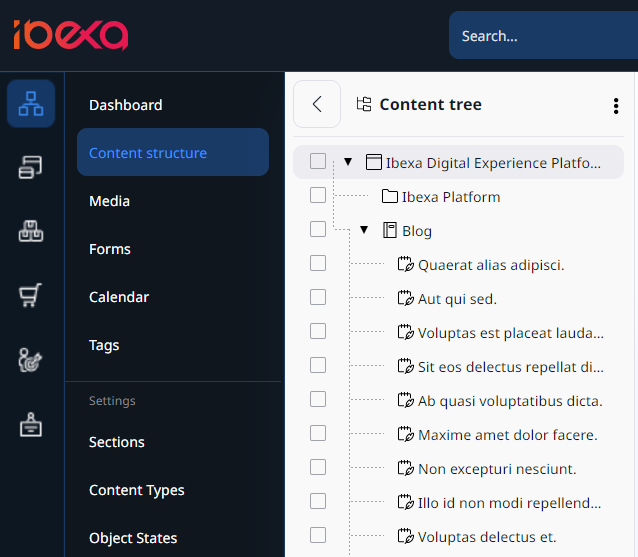
Content tree
Content tree is the place where you can navigate through all the content items in your application. If you want to browse your application's content items, in the main menu, go to the Content -> Content structure. The Content tree area is an expandable content menu of your website.

The same tree structure is used in other areas of the Content menu, such as Media or Forms.
Unique icons for each content type instantly show you what type of content you are selecting. To add custom icons to your content tree, follow the configuration tutorial in developer documentation.
For more information about custom configuration, go to Content tree in developer documentation.
Within the content tree, hidden content is greyed out in the tree view.
To simplify the content tree, big lists are collapsed and include a Show more icon. Click it to expand the branches of the tree. Collapse all option, which is available in the context menu, closes all expanded sections.
Add folders
You can organize the tree by creating additional folders and subfolders of the Content structure. A similar procedure applies to other areas of the system where the tree hierarchy is used.
1. Go to Content -> Content structure.
2. In the upper-right corner click Create content.
3. From the available content types, select Folder, and click Create.
4. Enter name for the new folder.
5. (Optional) Add folder description.
6. Click Publish.
The newly created folder is now visible in the content tree.