Step 5 — Display a list of content items
Now that you know how to display a single content item, you can take care of rendering a list of content items.
In this step you can display a table of all Rides on the front page.
Customize the homepage template
In templates/full/home_page.html.twig replace the "Hello world" with a table that displays the list of all existing Rides:
1 2 3 4 5 6 7 8 9 10 11 12 13 14 15 16 17 18 19 20 21 22 23 24 25 26 27 28 | |
The rides variable you use in line 15 above needs to contain a list of all Rides.
To get this list, you use a Query Type.
Create a QueryType for the home page
QueryType objects are used to limit and sort results for content item queries.
For more information, see Built-In Query Types.
Here, you need to display ride objects that have been published (are visible).
Create a RideQueryType.php file in src/QueryType:
1 2 3 4 5 6 7 8 9 10 11 12 13 14 15 16 17 18 19 20 21 22 23 24 25 26 27 28 29 30 31 | |
This Query Type finds all visible content items that belong to the ride content type (lines 21-22).
Now you need to indicate that this Query Type is used in your configuration.
Add Query Type to configuration
Edit config/packages/ibexa.yaml.
In the view configuration for the home page indicate that this view uses the Query Type:
1 2 3 4 5 6 7 8 9 10 11 12 13 14 | |
The query_type parameter in line 12 indicates which Query Type to use.
You defined the name Ride in the Query Type file in the getName method.
Using the pagingQueryAction of the built-in ibexa_query controller (line 6) enables you to automatically get paginated results.
You can set the limit of results per page in the limit parameter.
View types
So far you have been using the full view type to render the Ride's full view.
Here, on the other hand, you use the line view, as indicated by 'viewType': 'line' in the home page template (line 16).
You can configure custom view types with any name you want, as long as you include them in the configuration.
Let's do this now with the line view for Rides.
Create a line template for Rides
Add a rule for the ride template in your config/packages/ibexa.yaml file.
line should be at the same level as full.
1 2 3 4 5 6 7 8 | |
Create the templates/line/rides.html.twig template.
Because this template is rendered inside a table, it starts with a <tr> tag.
1 2 3 4 5 6 7 8 9 10 11 12 13 14 15 16 17 18 19 20 21 22 | |
Add Media permission
To be able to view the photo field you have to add a read permission to Media section.
In the main menu, go to Admin (gear icon) -> Roles, and click the Anonymous role.
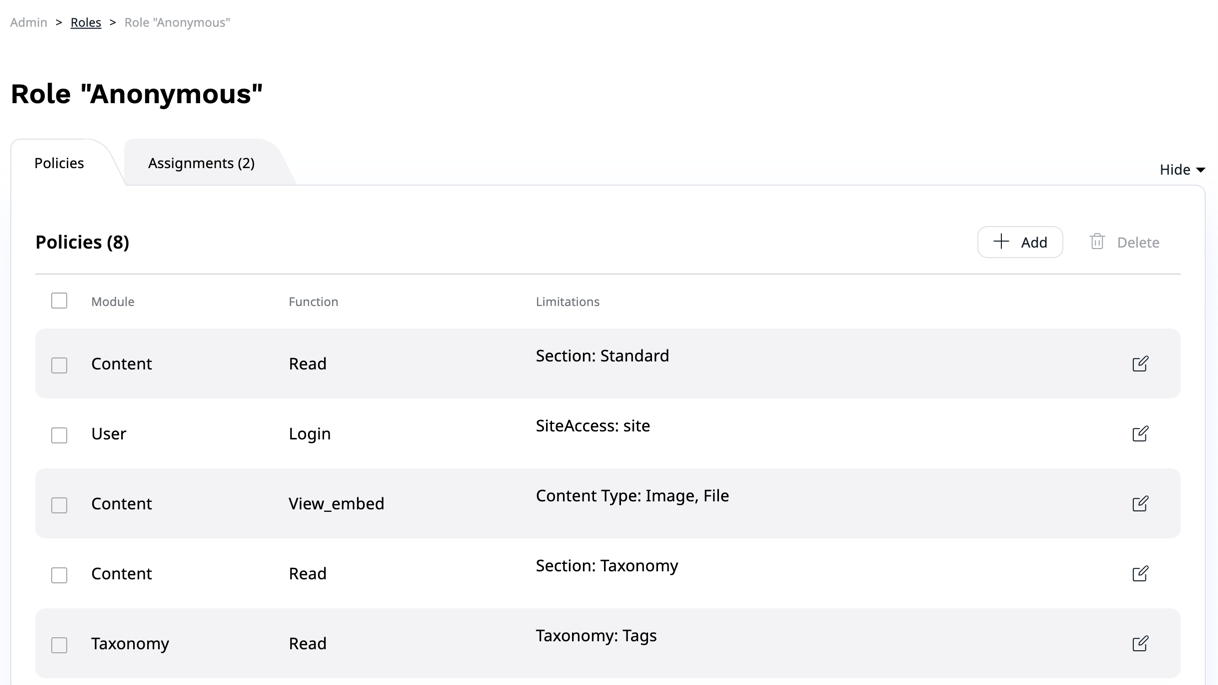
Edit the Content/Read policy line to add the Media section to Limitation along with the Standard section.

Now go to the homepage of your website and you can see the list of Rides. However, the Ride photos are too large and stretch the table. In the next step you can ensure they're displayed in proper size.