Step 8 — Enable account registration
In this step you will enable other users to create accounts on your site, access the Back Office and create content.
Enable registration
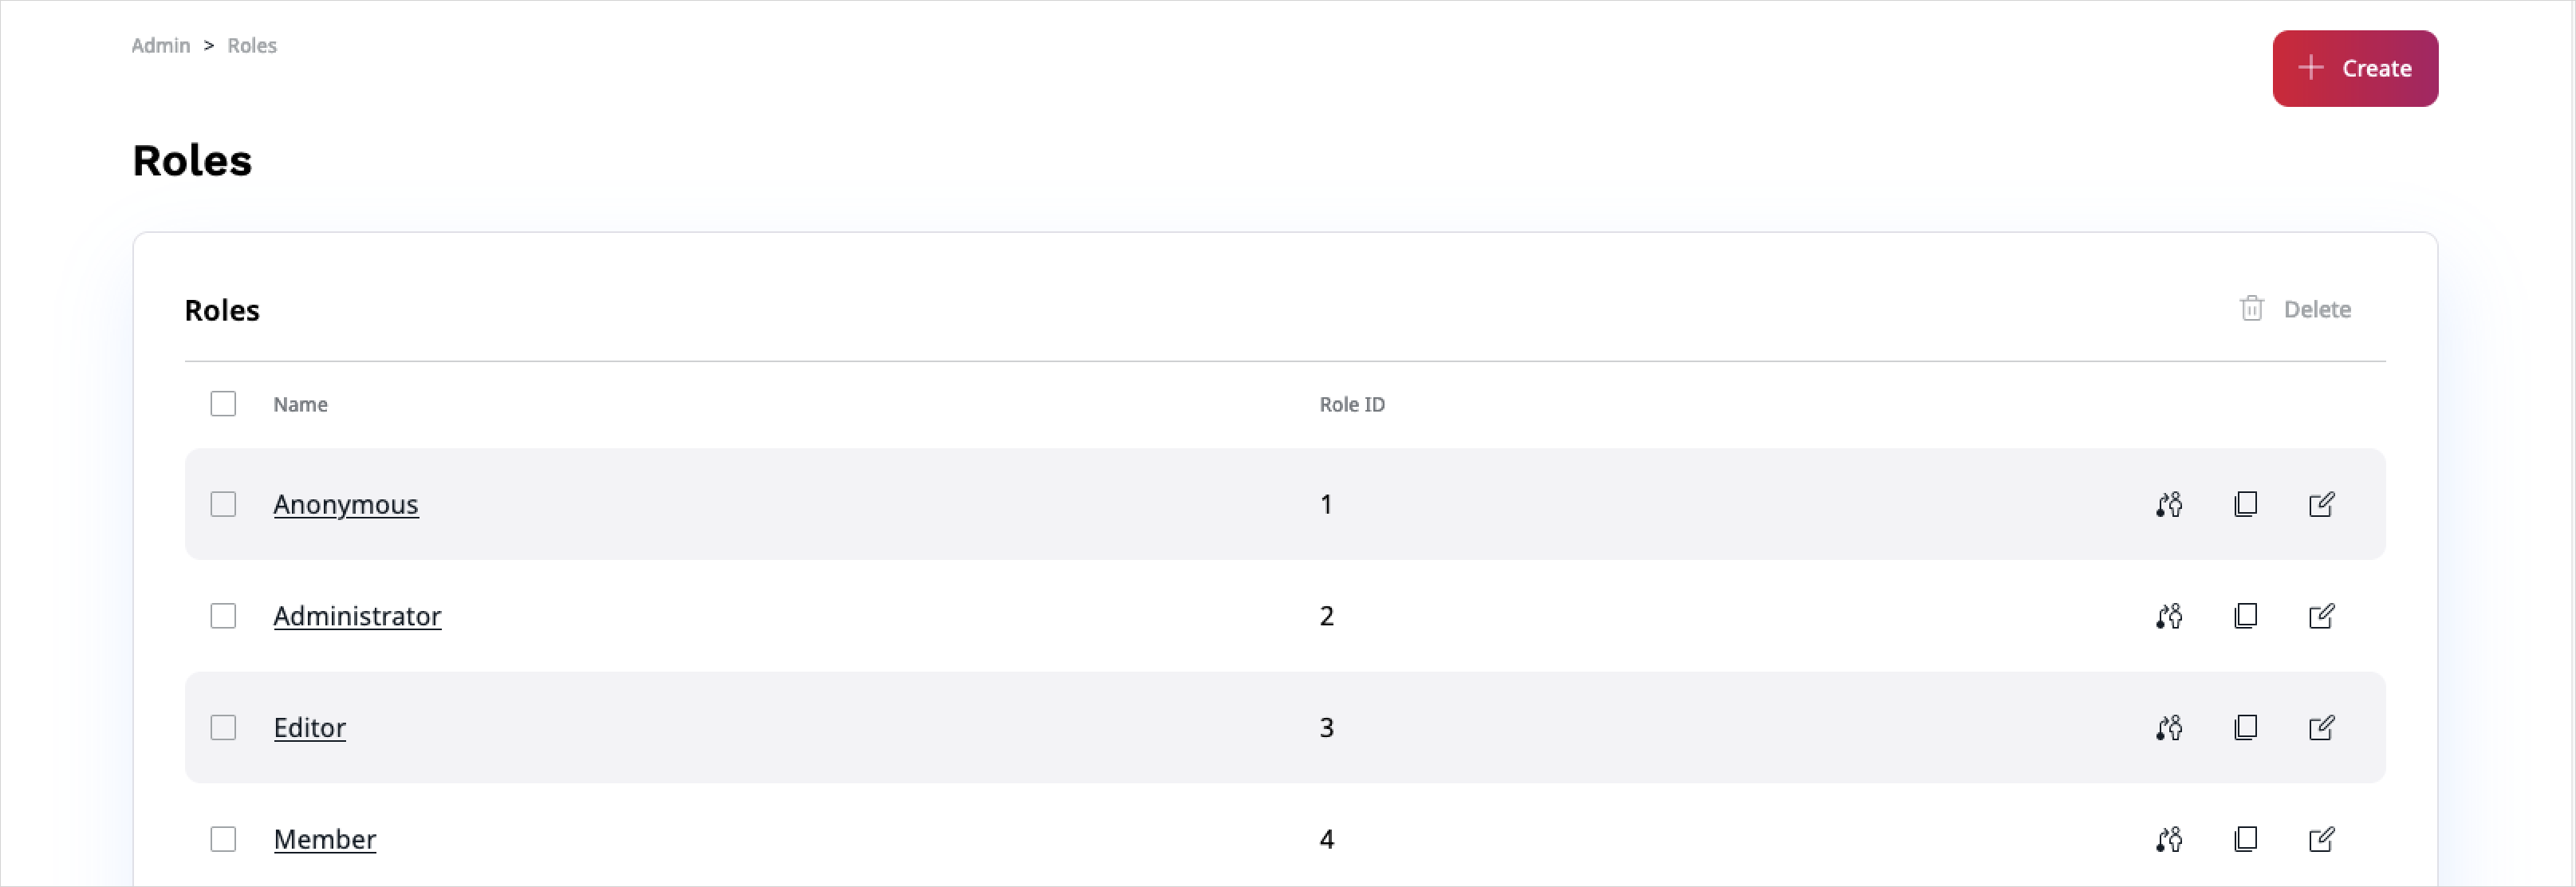
From Admin (gear icon) in the left menu, go to the Roles management screen and click on the Anonymous Role.
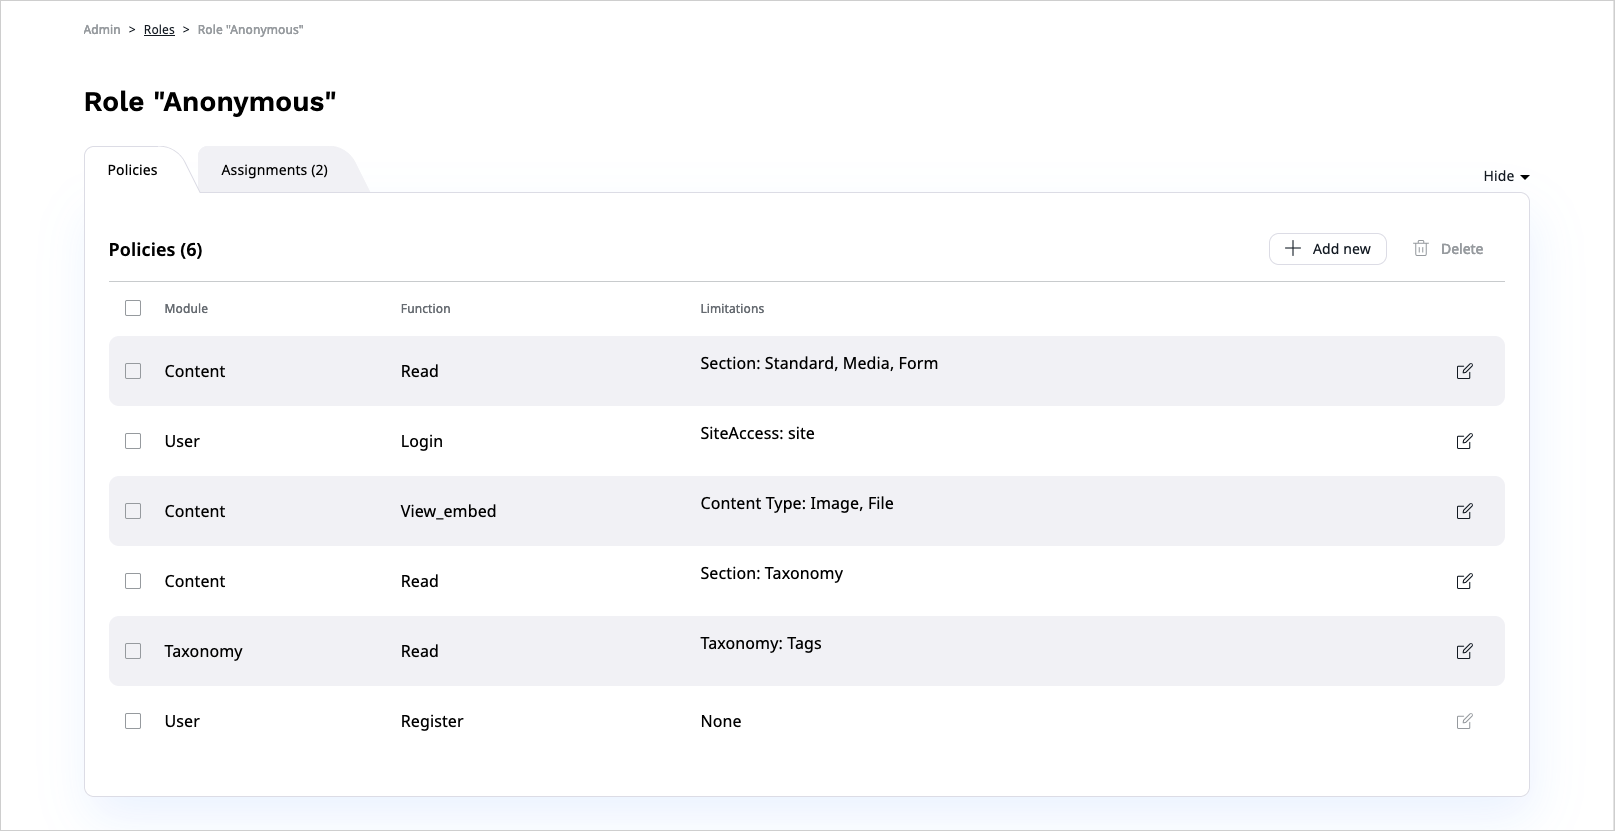
Add the User/Register Policy to the Anonymous User. This will allow any visitor to the website to access the registration form.
Then go to <yourdomain>/register. The registration form is unstyled, so you need to add templates to it.
Customize registration forms
In the config/packages/views.yaml file add a user_registration key under site, at the same level as content_view:
1 2 3 4 5 6 7 | |
This indicates which template will be used to render the registration form.
Create the file templates/user/registration_form.html.twig:
1 2 3 4 5 6 7 8 9 10 11 12 13 14 15 16 17 18 19 20 | |
In line 10 you can see that another file is imported: registration_content_form.html.twig.
The second template will render the actual fields of the registration form. Create this file as well (as templates/user/registration_content_form.html.twig):
1 2 3 4 5 6 7 8 9 10 11 12 13 14 15 16 17 18 19 20 21 22 23 24 25 26 27 28 29 30 31 32 33 34 35 36 37 38 39 40 41 42 43 44 45 46 47 | |
The third template you need to prepare covers the confirmation page that is displayed when a user completes the registration.
First, point to the new template in the configuration. Add a confirmation key to config/packages/views.yaml:
1 2 3 4 | |
Then create the templates/user/registration_confirmation.html.twig template:
1 2 3 4 5 6 7 8 9 10 11 12 13 14 15 16 17 18 19 20 21 22 23 24 25 | |
Now return to <yourdomain>/register:
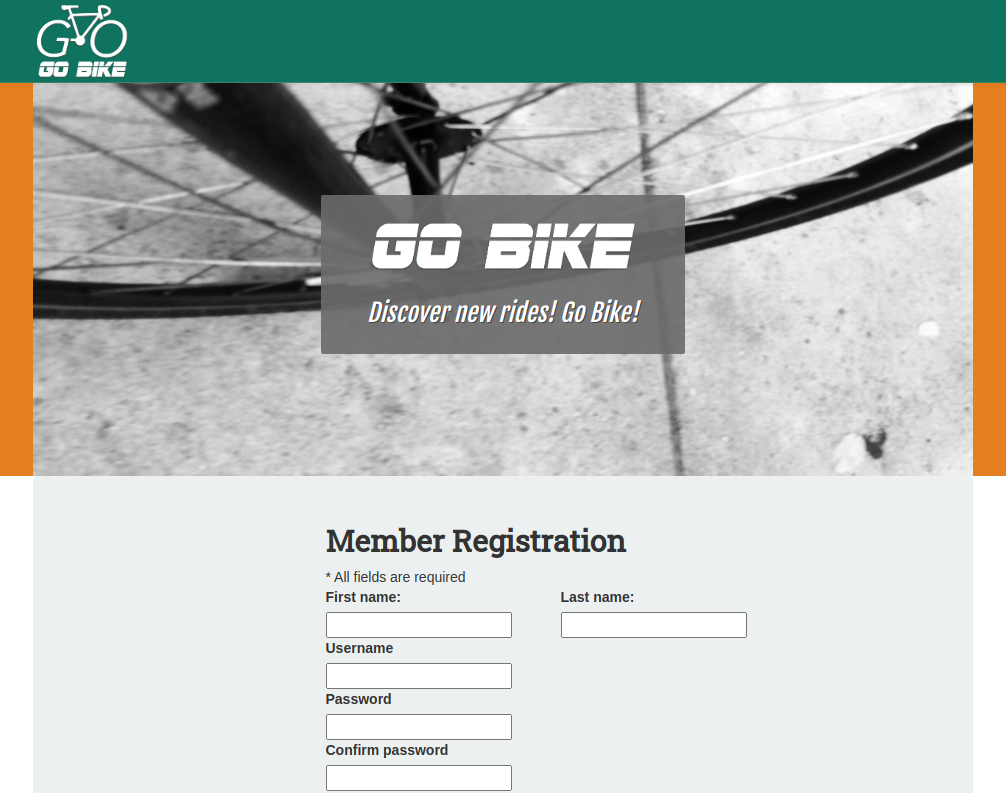
Fill in the form and register a user.
Tip
If you log in as the new user at this point, you need to go to the Back Office (<yourdomain>/admin)
to log out again re-log in as Admin.
Set up Permissions
Users created through the registration form are placed in the Guest accounts User Group. The User you have just created will have the Roles assigned to this group.
Tip
You can change the group in which new Users are placed (but you don't need to do it for this tutorial). See Registering new users for more information.
At this point you don't want anyone who registers to be able to add content to the website. That's why you'll create a new User Group with additional permissions. When the administrator accepts a new User, they can move them to this new group.
Create a User Group
In Admin go to the Users screen, click the Create content button and create a User Group named Go Bike Members.
Create a Folder for contributed Rides
Go to the All Rides Folder and create inside it a new Folder named Member Rides.
Go Bike Members will only be able to create Content in this Folder.
Set permissions for Go Bike Members
From Admin in the Roles screen, create a new Role named Contributors.
Now add the following Policies to the Contributors Role.
- User/Login
- User/Password
- Content/Read
- Content/Versionread
- Content/Create with Limitations: Content Type limited to Ride and Landmark Content Types and Subtree to the
Member Rides - Content/Publish with Limitations: Content Type limited to Ride and Landmark Content Types and Subtree to the
Member Rides - Content/Edit with Limitation: Owner limited to
Self - Section/View
- Content/Reverserelatedlist
Tip
The Limitations are a powerful tool for fine-tuning the permission management of the Users. See the documentation about Limitations for more technical details.
Once the Policies are set, go to the "Assignments" tab and assign the Role to the User Group Go Bike Members.
Next, go to the Users page. Select the user you have just created and move them into the Go Bike Members user group.
Create content as a Go Bike Member
Log out as admin and then log in again into the Back Office with the credentials of the new user. You now have the ability to create new Rides and Landmarks in the selected folder.
Congratulations!
Now you have created your first website with Ibexa DXP.
You learned how to:
- create a content model
- organize files in an Ibexa DXP project
- configure views for different Content Types
- add assets to an Ibexa DXP project
- use and configure Webpack Encore
- use Twig templates and controllers to display content
- enable user registration
- manage user permissions