Create Customer Portal
On this page, you will learn how to configure the Customer Portal feature to be editable with Page Builder. If you already configured Customer Portal, you can learn how to build it with a Page Builder in User Documentation.
First, you need to decide if you want to create and configure one portal or multiple portals setup.
Create and configure one portal
This setup is recommended for simple use cases with one Customer Portal for all markets. If you plan to expand your portal portfolio in the future, see multiple portal configuration.
Configure Page Builder access to Customer Portal
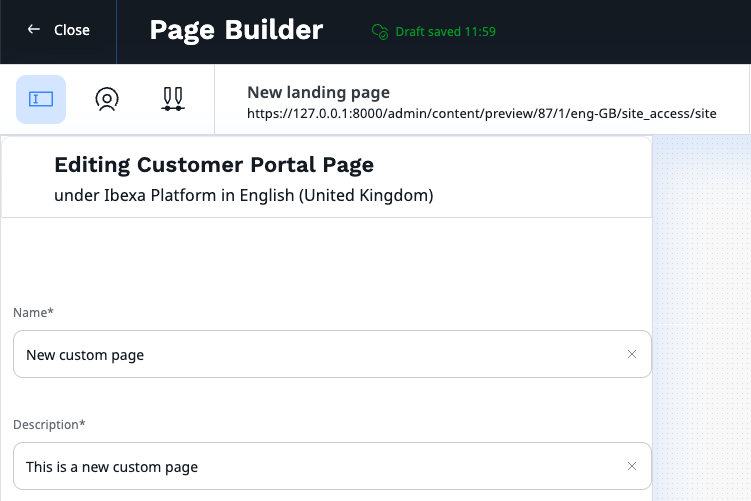
First, create a Customer Portal page, its location ID needs to be later specified in the configuration. To do it, go to Content -> Content structure, and select Customer Portal Page.
For now, you only need to add a name and a description in the Field view, you can find it in the upper toolbar on the left side. Next, click Publish to see the page in the content tree.
To be able to see the Customer Portal site template in the Page Builder you need to add custom_portal SiteAccess to the configuration.
First, under the ibexa.siteaccess configuration key add custom_portal to
the SiteAccess list and to corporate_group.
Next, add configuration for corporate_group and custom_portal under ibexa.system.
Remember to specify location_id of your Customer Portal, you can find it under the Details tab of your new page.
1 2 3 4 5 6 7 8 9 10 11 12 13 14 15 16 17 18 19 20 21 | |
Next, under the ibexa.system.admin.page_builder configuration key, add custom_portal to the SiteAccess list available to Page Builder:
1 2 3 4 5 6 7 8 | |
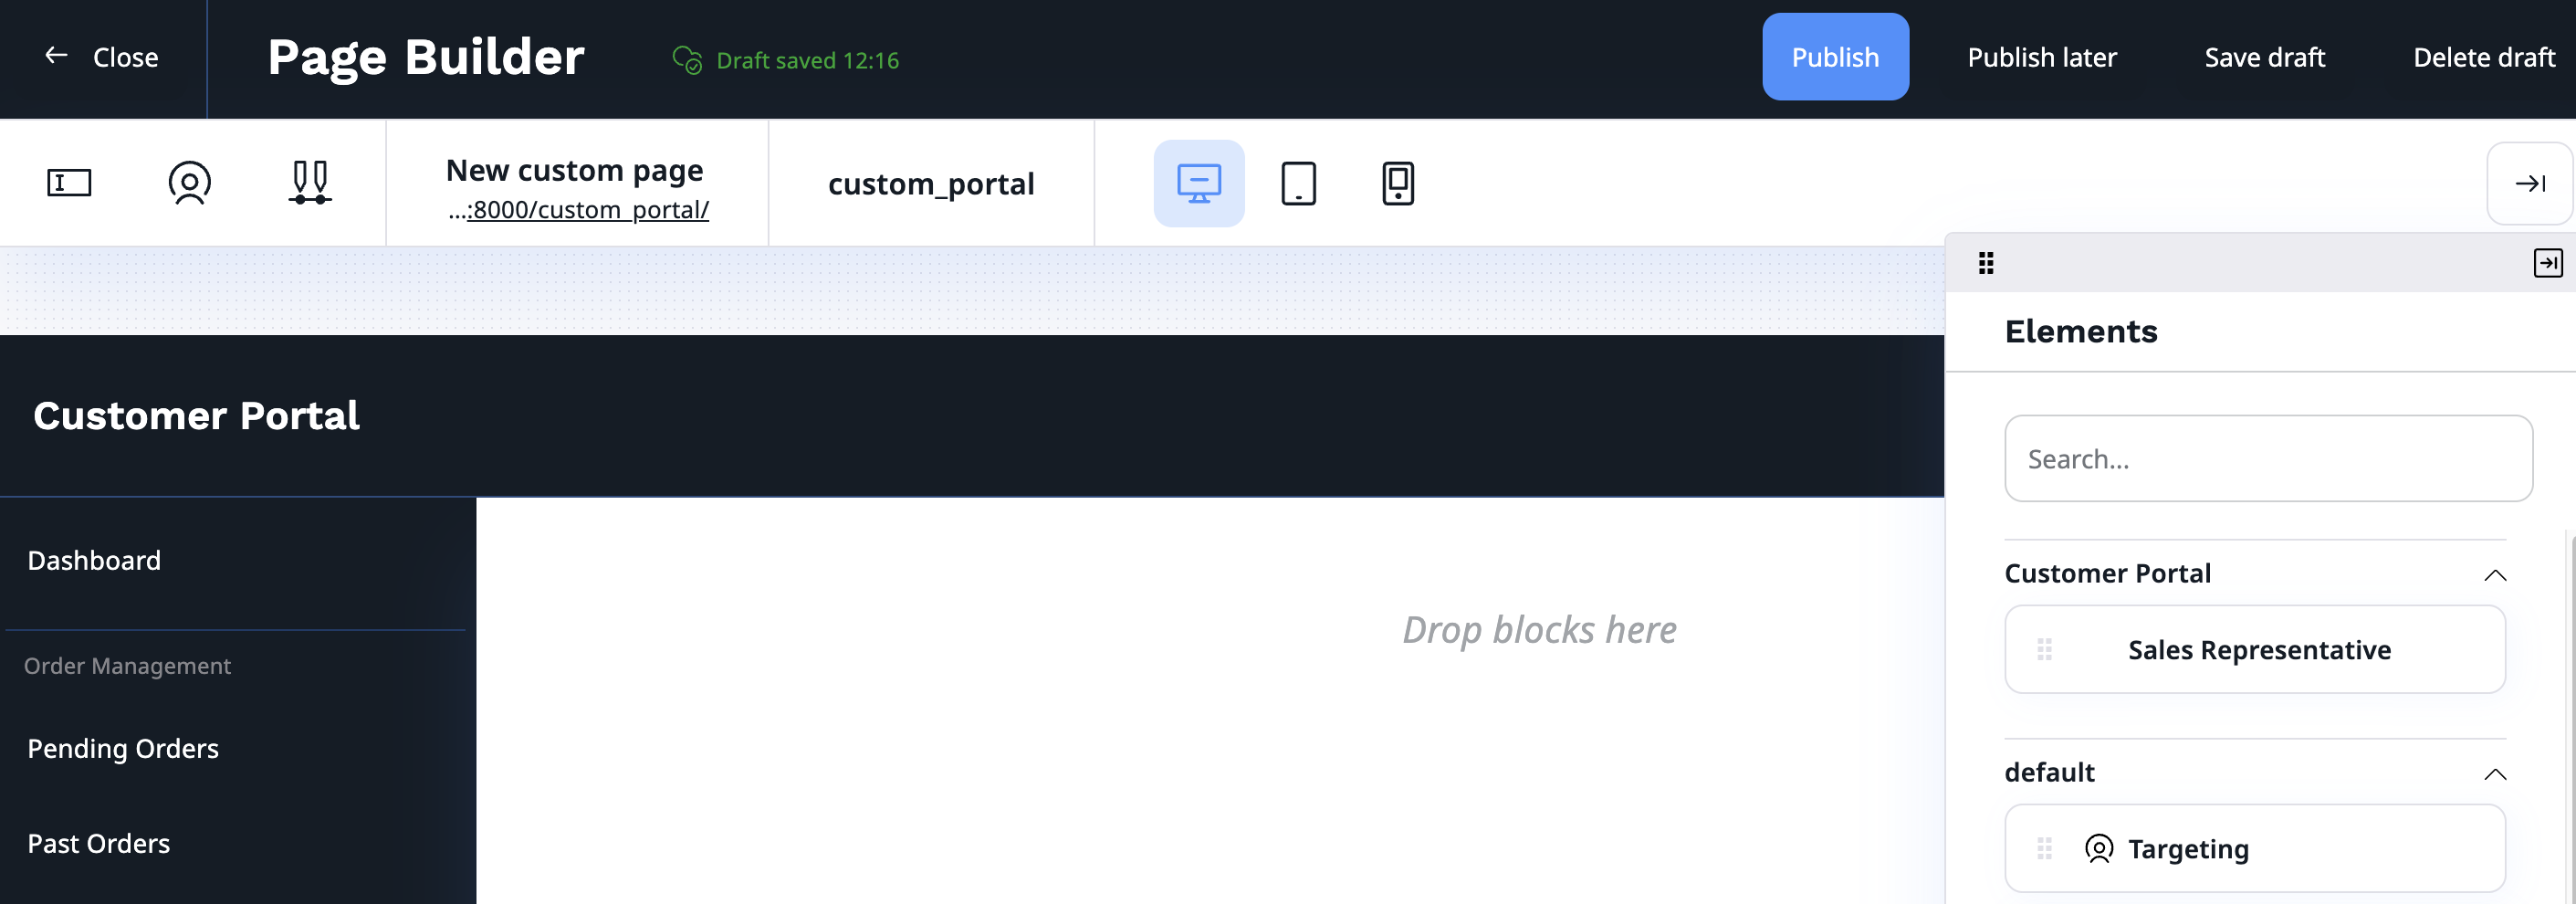
Now, you can go to your Customer Portal Landing Page and edit it in Page Builder.
Grant permissions to customers
You need to grant the following permissions to company members, so they can view custom Customer Portal:
user/logintocustom_portalSiteAccesscontent/readto the Customer Portal

If members of the company don't have sufficient permissions for any Customer Portal, they are redirected to the default Customer Portal view.
Note
Customer Portal is only available to users that are members of the company. Even if a user has all the sufficient permissions but is not a member of a company, they can't see the Customer Portal.
Create and configure multiple portals
This setup is recommended for global markets or company specific portals, where each portal is design specifically for its users and their needs.
Customer Portal container
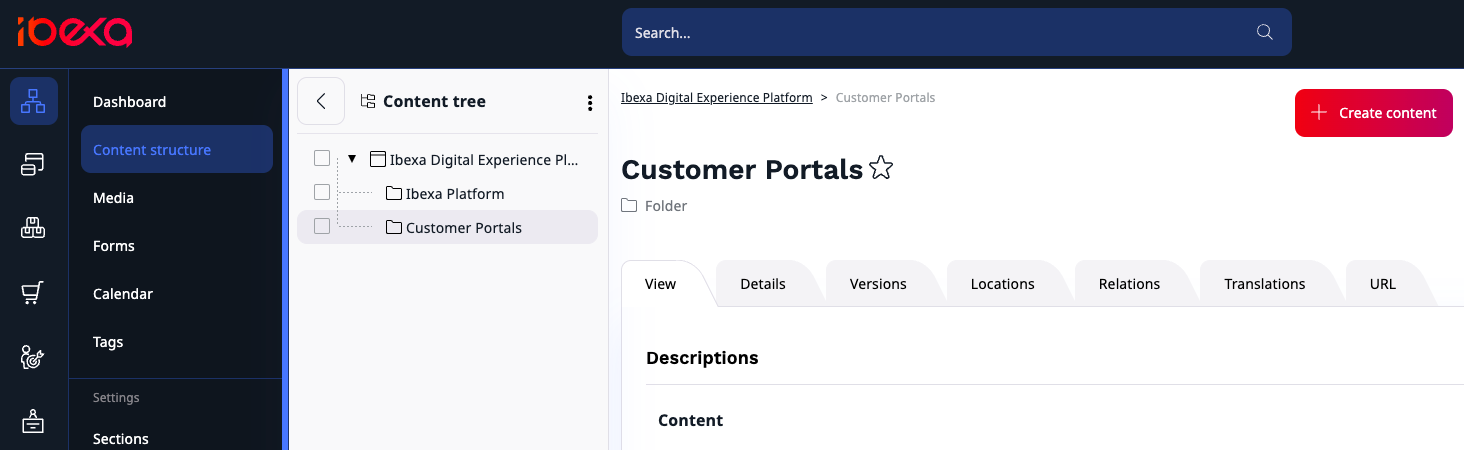
First, you need to create a root folder for Customer Portals, its location ID needs to be later specified in the configuration as a tree root. To do it, go to Content -> Content structure, and select Create content. There you will see two possibilities Customer Portal and Customer Portal Page.
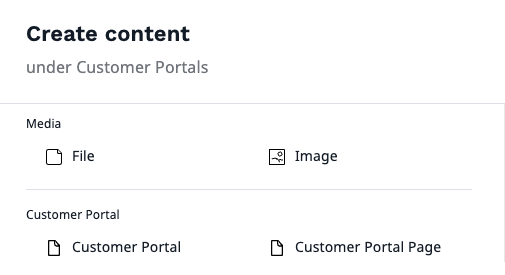
The first one is a separate Content Type used as a container for your Customer Portal pages. Customer Portals containers should be used to sort Customer Portal pages and any other Content Types used by them, such as articles, inside the root folder. It is recommended that you use them instead of folders to divide and store your portals. Select Customer Portal, define its name and publish.
Configure Page Builder access to Customer Portal
To be able to see Customer Portal site template in the Page Builder you need to add custom_portal SiteAccess to the configuration.
First, under the ibexa.siteaccess configuration key, add custom_portal to
the SiteAccess list and to corporate_group.
Next, add configuration for corporate_group and custom_portal under ibexa.system.
Remember to specify location_id of the root folder for Customer Portals, you can find it under the Details tab.
1 2 3 4 5 6 7 8 9 10 11 12 13 14 15 16 17 18 19 20 21 | |
Next, under the ibexa.system.admin.page_builder configuration key, add custom_portal to the SiteAccess list available to Page Builder:
1 2 3 4 5 6 7 8 | |
Now, you can go back to your Customer Portal's container. All Landing Pages that you create in it use Customer Portal template.
Assign portal to Customer Group
You can assign multiple Customer Portal containers or Pages to a specific Customer Group. First, you need to grant the following permissions to company members from the Customer Group:
user/logintocustom_portalSiteAccesscontent/readto selected Customer Portals

If members of the Customer Group don't have sufficient permissions for any Customer Portal assigned to them, they will be redirected to the default Customer Portal view.
Note
Customer Portal is only available to users that are members of the company. Even if user has all the sufficient permissions but is not a member of a company, they won't see the Customer Portal.
Build-in portal mapping
Now, you need to assign your custom portals to Customer Groups.
Add portal mapping configuration in config/services.yaml:
1 2 3 4 5 6 7 | |
There, you can specify which Customer Portals should be available to which Customer Group by adding:
- Customer Group identifier. You can find it in the Summary section of the Company.
- Location remote ID of Customer Portal container or Customer Portal page. You can find it in the Details section.
Portals will be displayed to the Customer Group in order specified in the configuration based on company member's permissions.
Custom portal mapping
You can specify your own custom logic for redirecting members to a specific Customer Portal.
To do so, implement \Ibexa\Contracts\CorporateAccount\CustomerPortal\PickRule\CustomerPortalPickRule and tag it with ibexa.corporate_account.customer_portal.pick_rule.
Multiple portals on single page
You can allow company members to see multiple versions of Customer Portal on a single page by combining SiteAccess matchers with Compound\LogicalAnd:
1 2 3 4 5 6 7 8 9 10 11 12 13 | |

Change Customer Portal layout
You can change Customer Portal layout by adding your custom template under ibexa.system.<portal_name>.page_layout:
1 2 3 4 5 6 7 8 9 | |
To generate the Customer Portal menu you should use customer_portal.menu.main key:
1 2 3 4 5 6 7 8 9 10 11 12 13 | |