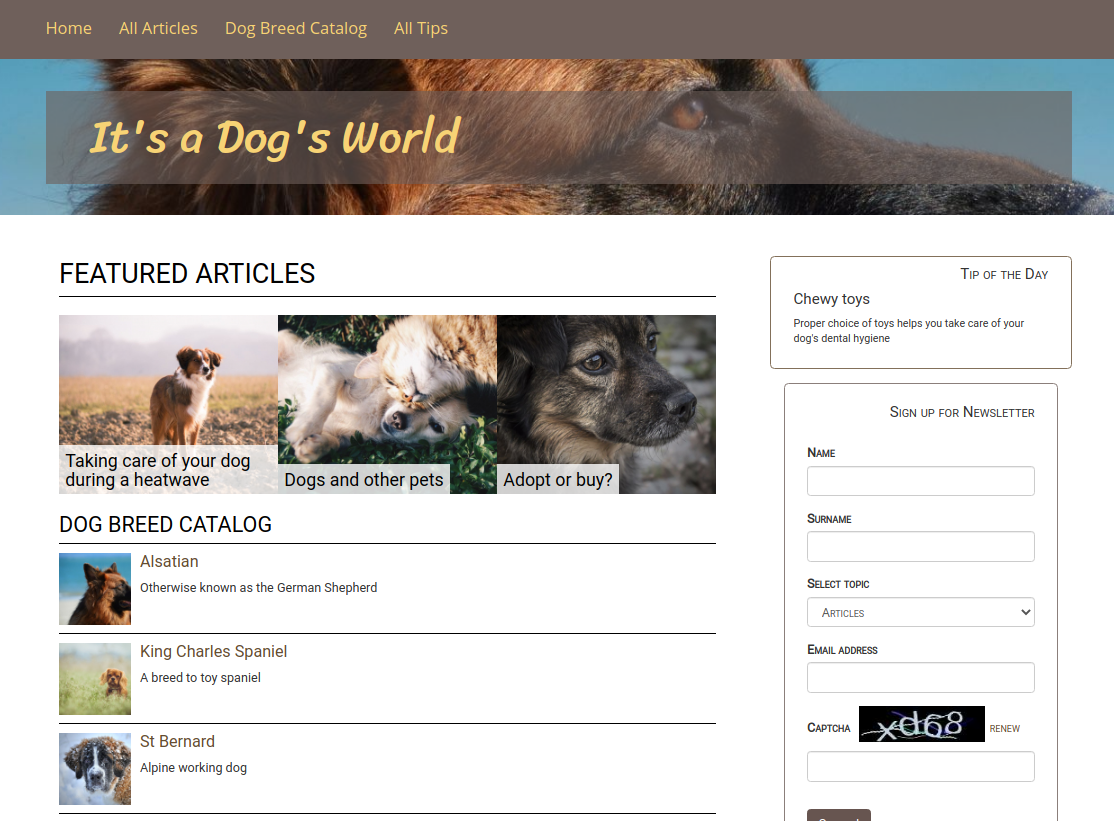
Step 5 — Create a newsletter form
The final step of this tutorial assists you in adding to the home page a Form block for signing up to a newsletter.
Known limitation
To have multiple instances of the same form on one page, create several identical form blocks. Otherwise, you may encounter issues with submitting data from all forms at the same time.
Add a Form block
Start with creating a Form content item. In the main menu, go to Content -> Forms, click Create content and select Form. Provide the title, for example, "Sign up for Newsletter" and click Build form.
In the Form Builder, add and configure (using the Basic and Validation tabs) the following form fields:
| Form field | Name | Required | Additional properties |
|---|---|---|---|
| Single line input | Name | yes | Minimum length = 3 |
| Single line input | Surname | no | Minimum length = 3 |
| Dropdown | Select topic | yes | Options:- News- Tips - Articles |
| Email address | yes | — | |
| Captcha | CAPTCHA | — | — |
| Button | Sign up! | — | Action: Show a messageMessage to display: Thank you! |
The configuration should look like this:
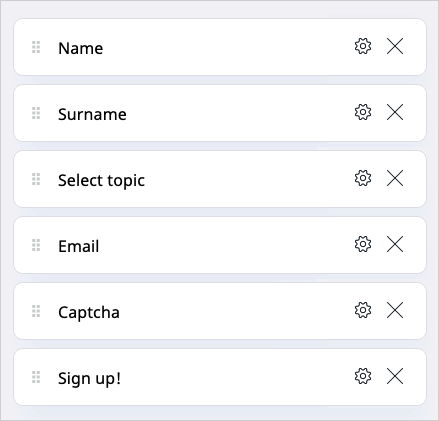
When you add all the fields, save the form and click Publish. Now you can edit the Front Page and add a Form block below the Random block. Edit the block and select the form you created. Click Submit.
The Page should refresh with the Form block.
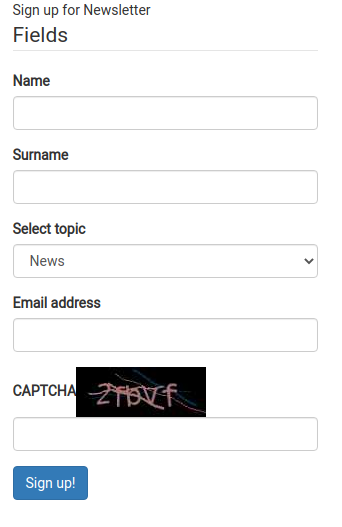
It clearly differs from the page design, so you also need to customize the block's layout.
Change the block template
First, add a new template for the Form block to align it with the Random block design.
Create a newsletter.html.twig file in templates/blocks/form/:
1 2 3 4 5 6 7 8 9 10 11 | |
This template extends the default block layout by adding an additional class (line 1) that shares CSS styling with the Random block.
Append the new template to the block by adding it to config/packages/ibexa_fieldtype_page.yaml.
Add the following configuration under the blocks key at the same level as other block names, e.g. random:
1 2 3 4 5 | |
Now you have to apply the template to the block. Go back to editing the Page. Edit the Form block again. In the Design tab, select the Newsletter Form View and click Submit.
The block remains unchanged, but the results will be visible when you add CSS styling.
Change the field template
At this point, you need to change the field template. This results in alternating the position and design of the Form fields.
Create a form_field.html.twig file in templates/fields/:
1 2 3 4 5 6 7 8 9 10 11 12 | |
Next, assign the template to the Page.
In config/packages/views.yaml, at the same level as pagelayout, add:
1 2 | |
Clear the cache by running bin/console cache:clear and refresh the Page to see the results.
Configure the Form field
Before applying the final styling of the block, you need to configure the CAPTCHA field.
In config/packages, add a gregwar_captcha.yaml file with the following configuration:
1 2 3 4 | |
Add stylesheet
The remaining step in configuring the block is adding CSS styling.
Add the following code to assets/css/style.css:
1 2 3 4 5 6 7 8 9 10 11 12 13 14 15 16 17 18 19 20 21 22 23 24 25 26 27 28 29 30 31 32 33 34 35 36 37 38 39 40 41 42 43 44 45 46 47 48 | |
1 2 | |
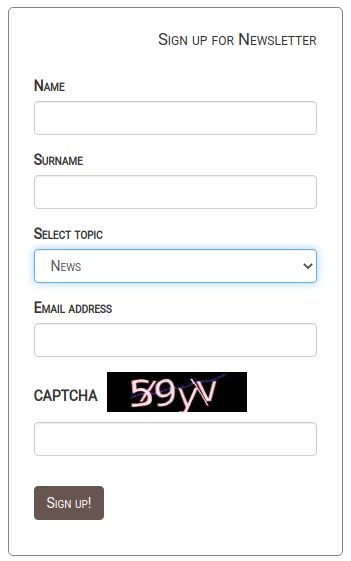
Refresh the Page and enter a couple of mock submissions.
Manage the submissions
You can view all submissions in the Back Office. Go to Forms page. From the Content tree, select the Form and click the Submissions tab. There, after selecting submission(s), click Download submissions or Delete submission. To see details about a submission, click the view icon.
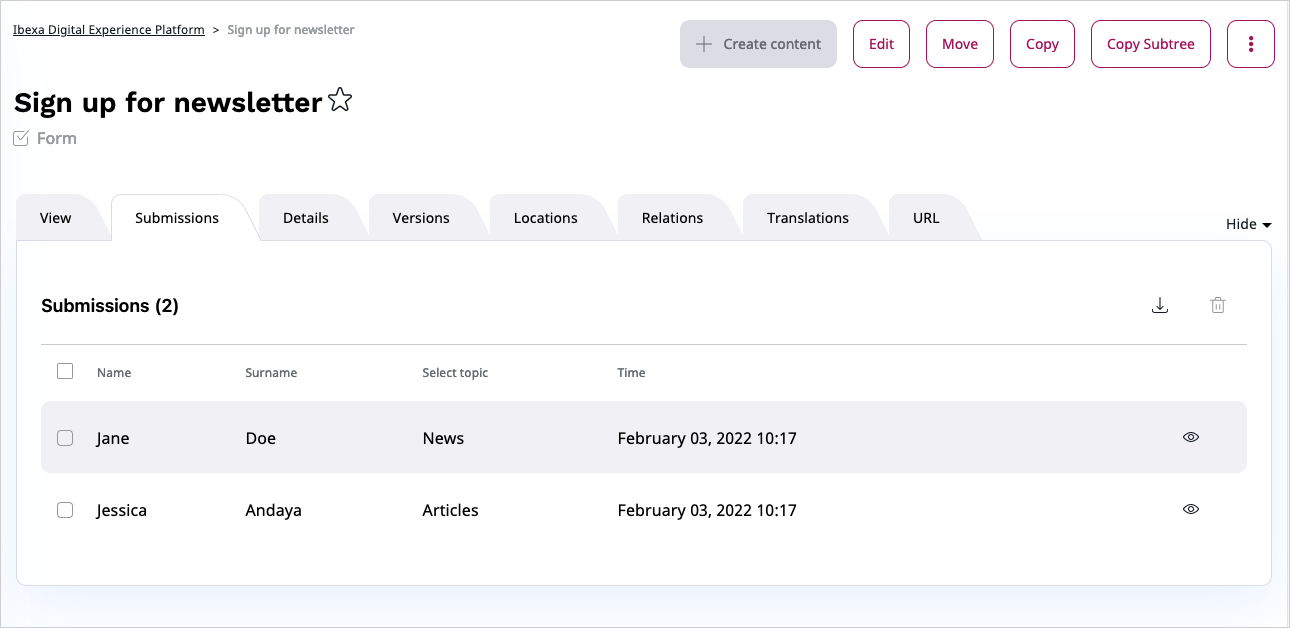
For more details, see viewing form results.
Congratulations!
You have finished the tutorial and created your first customized Page.
You have learned how to:
- Create and customize a Page
- Make use of existing blocks and adapt them to your needs
- Plan content airtime using the Content Scheduler block
- Create custom blocks
- Use Form Builder and configure your form
- Apply custom styling to blocks
