Step 2 — Create the content model
How your content is structured is a very important part of an Ibexa DXP project. Think of it as the database design of your application.
To get full information, read the content model documentation page. Below is a short introduction that only covers points needed for this tutorial.
Content model overview
The Ibexa DXP content Repository is centered around content items. A content item is a single piece of content, for example an article, a product review, a place, etc.
Every content item is an instance of a content type. Content types define what Fields are included in each content item. For example, an article could include Fields such as title, image, abstract, article's body, publication date and list of authors.
Fields can belong to one of the installed Field Types, about 30 in the default distribution. Each Field Type is built to represent a specific type of data: a text line, a block of rich text, an image, a collection of relations to content items, etc. You can find a complete list in the Field Types reference section. Every Field Type may have its own options, and comes with its own editing and viewing interfaces.
Add a content type
The site will use two content types: Ride and Landmark. A Ride is a route of a bike trip. It can include one or more Landmarks - interesting places you can see along the way. More than one Ride can visit the same Landmark, so it is similar to an N-N relationship model in a database.
In this step you'll add the first content type, Ride.
Go to the admin interface (<yourdomain>/admin) and log in with the default username: admin and the default password: publish.
In the upper-right corner, click the avatar icon to unfold the drop-down menu and disable the Focus mode.
In the main menu, go to Content -> Content types.
You will see a list of Content type groups. They are used to group content types in a logical way.
Select Content and then click the Create button.

Fill the form with this basic info:
- Name: Ride
- Identifier:
ride
Then create all Fields with the following information:
| Field Type | Name | Identifier | Required | Searchable | Translatable |
|---|---|---|---|---|---|
| Text line | Name | name |
yes | yes | yes |
| Image Asset | Photo | photo |
no | no | no |
| Rich text | Description | description |
yes | yes | yes |
| Map location | Starting point | starting_point |
yes | yes | no |
| Map location | Ending point | ending_point |
yes | yes | no |
| Integer | Length | length |
yes | yes | no |
Confirm the creation of the content type by clicking Save and close.
Create Rides
Note
If you are using Ibexa Experience, the root content item in your installation is a Page called "Ibexa Digital Experience Platform".
For this tutorial, swap it with its child, a Folder called "Ibexa Platform".
To do this, in the main menu go to Content -> Content structure -> Ibexa Digital Experience Platform, select the Locations tab and in the Swap Locations section navigate to "Ibexa Platform".
You can learn how to work with Pages in another tutorial.
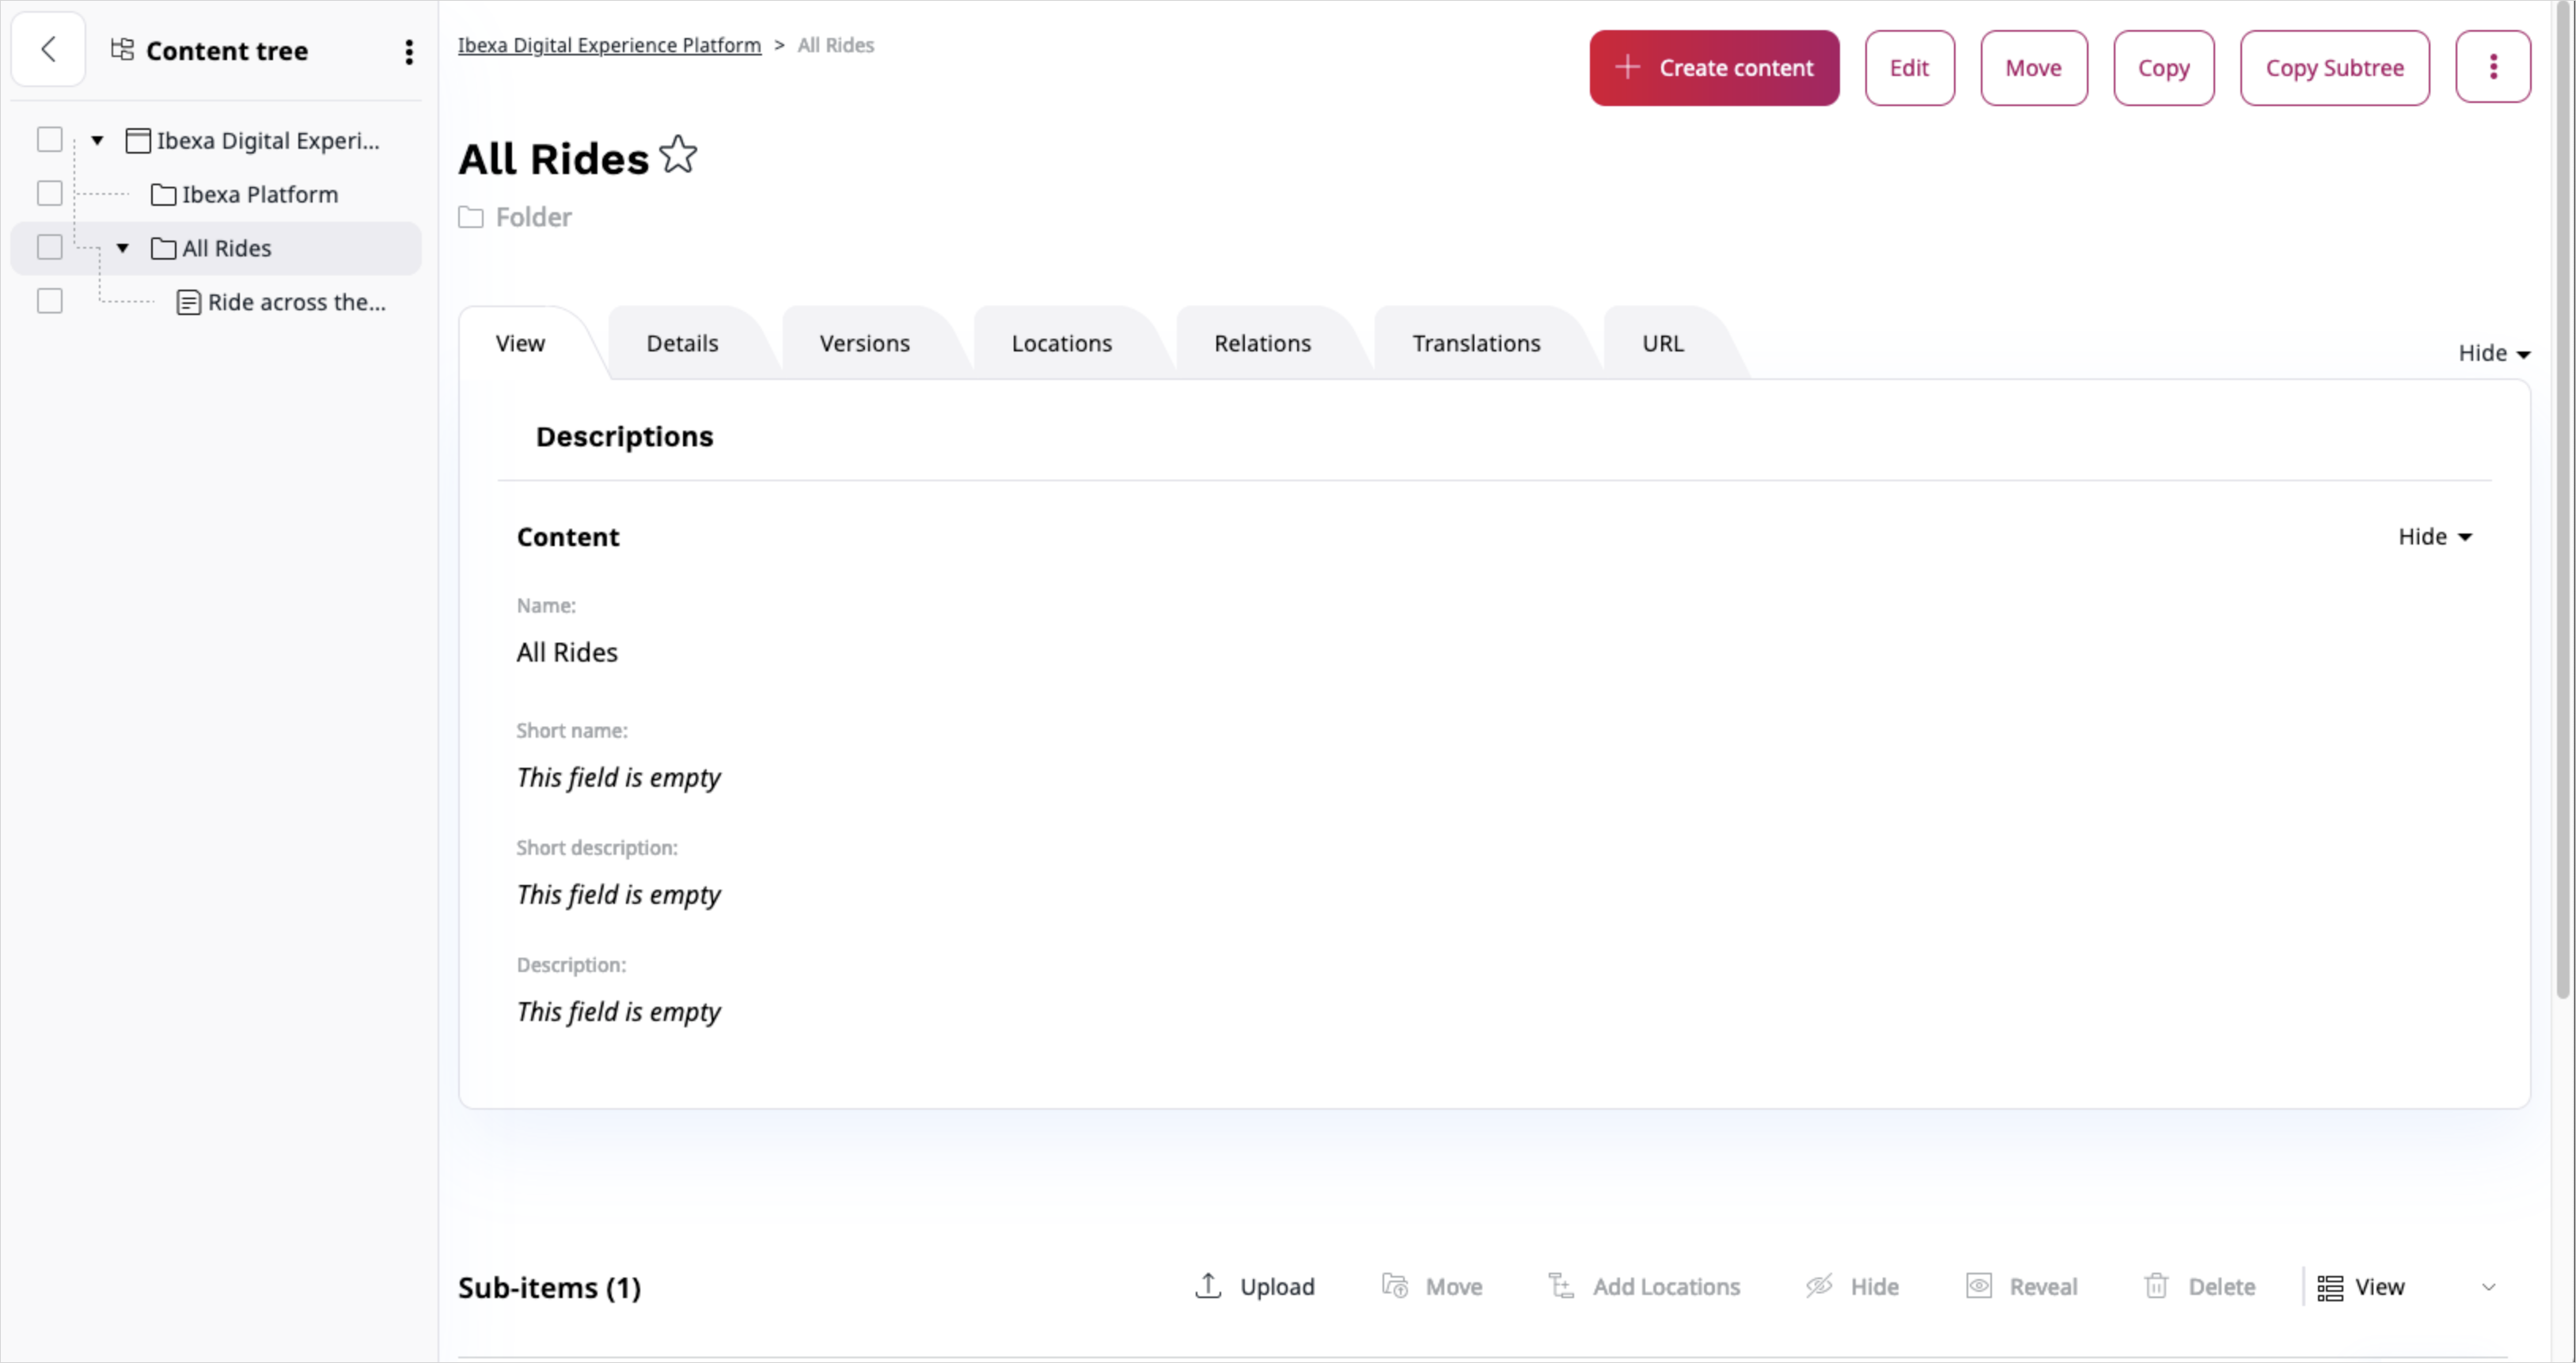
Go back to the content by selecting Content structure in the main menu. Then browse the Content tree and create a Folder named All Rides using the Create content button on the top right of the screen. Publish the Folder.
While in the folder, create a few of Rides using the Create content button, add photos and publish them.
Once you have two or more Rides in the Folder, you are ready to customize the homepage of the website.