Step 5 - Add a new Point 2D Field
All actions in this step are done in the admin interface also called the Back Office.
Go to the admin interface (<yourdomain>/admin) and log in with the default username: admin and the default password: publish.
Add new content type
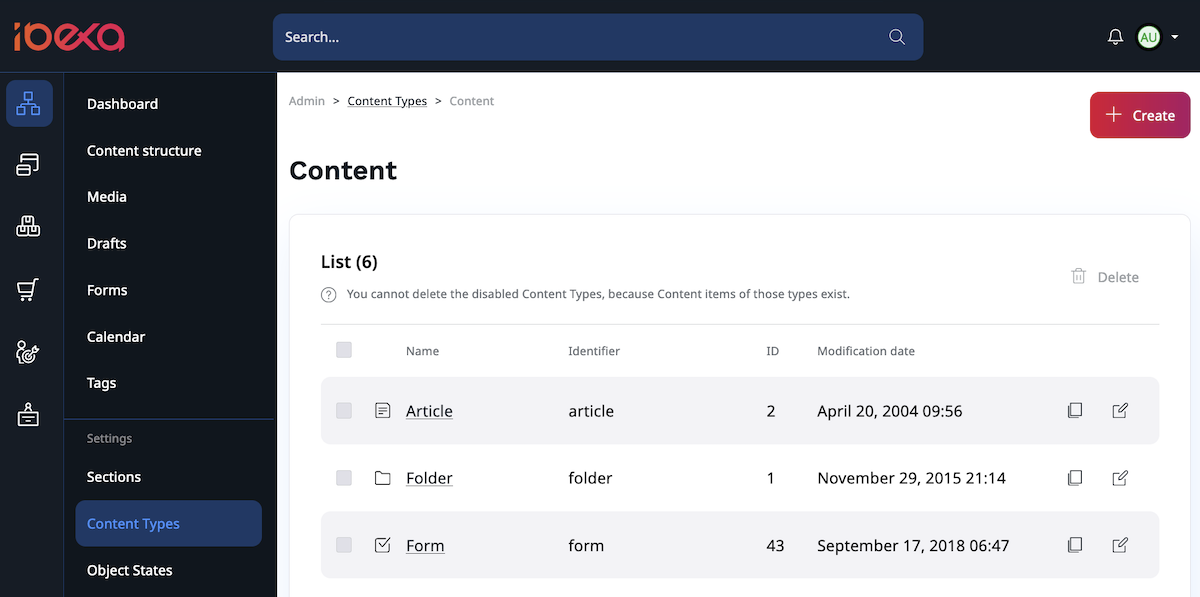
In the Back Office, the main menu, go to the Content types page. Under Content category, create a new content type:
New content type should have the following settings:
- Name: Point 2D
- Identifier: point_2d
- Fields: point2d.name
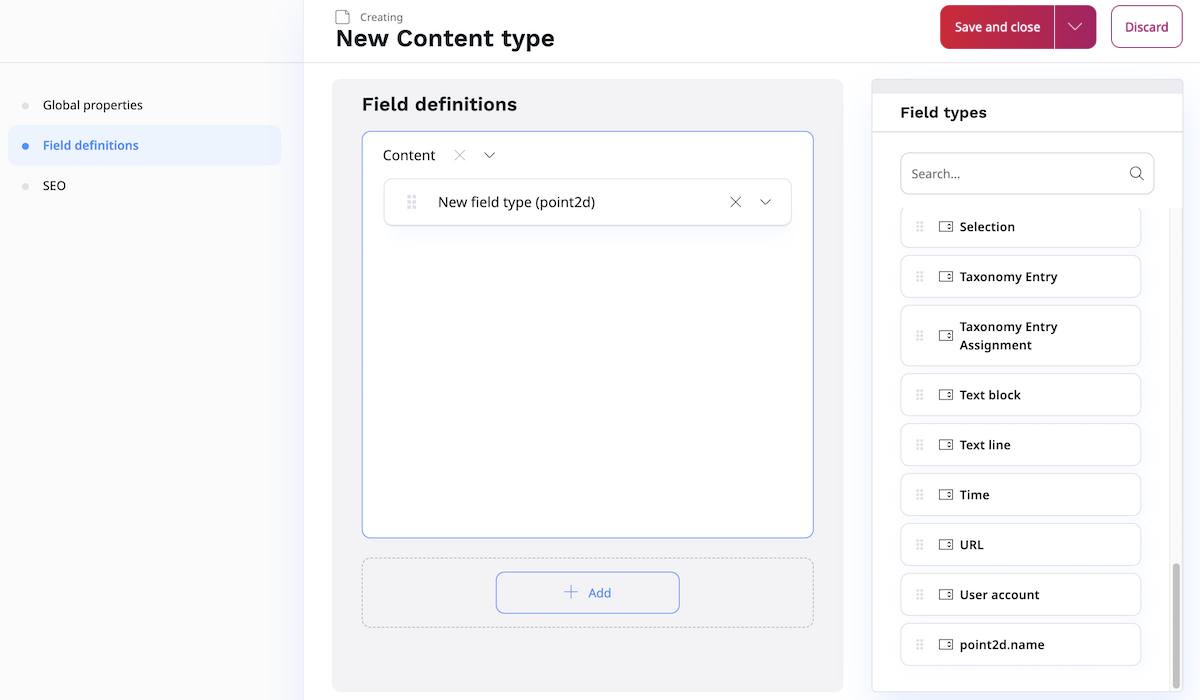
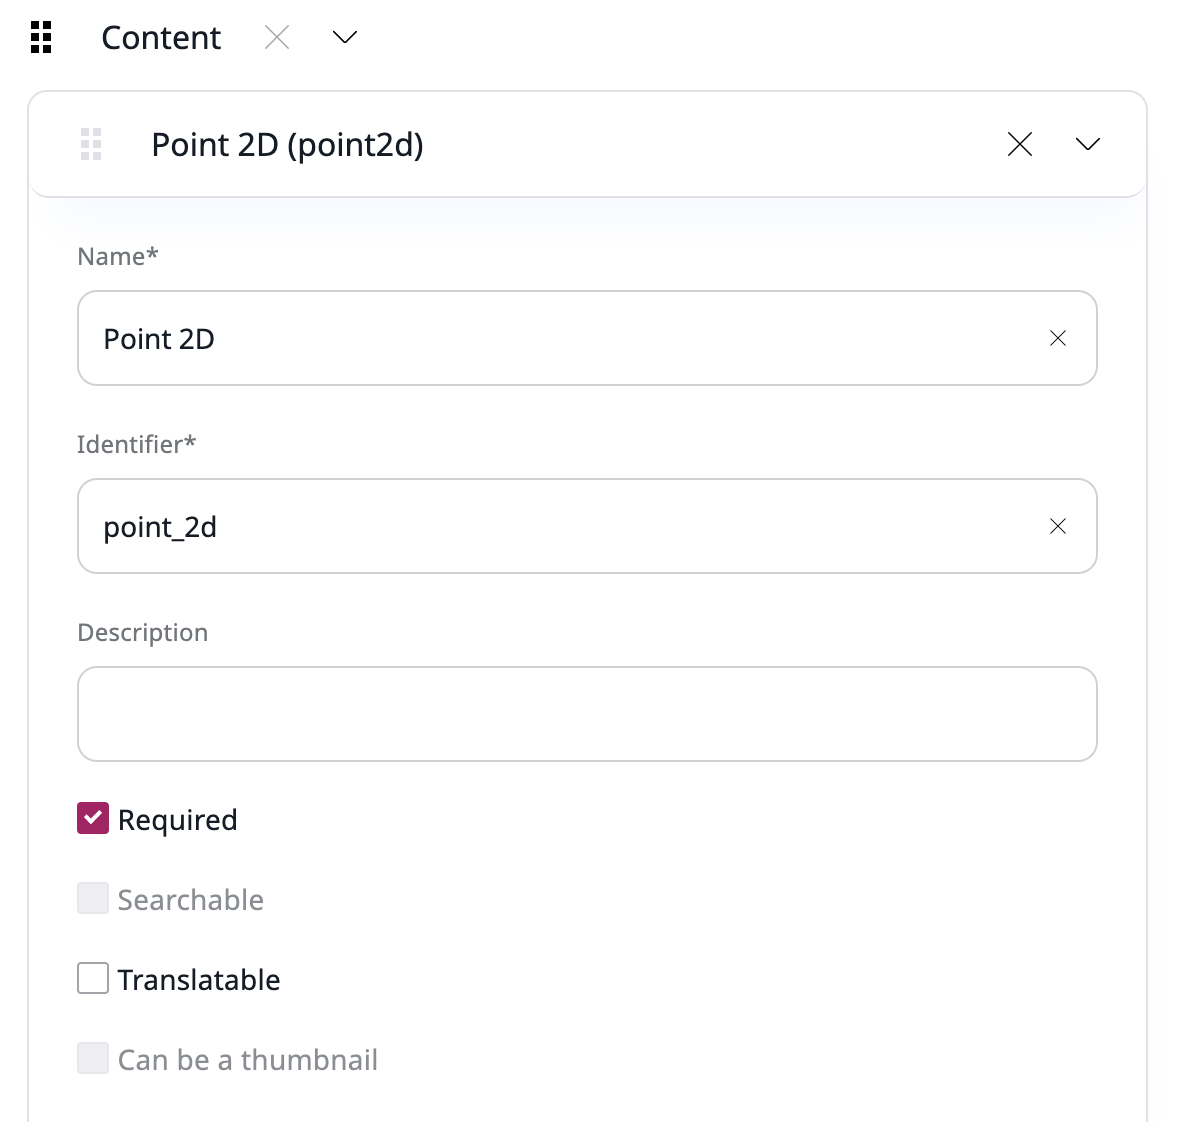
Next, define point2d with the following Fields:
| Field Type | Name | Identifier | Required | Translatable |
|---|---|---|---|---|
| point2d | Point 2D | point_2d |
yes | no |
Save everything and go back to the Content/Content structure tab.
Create your content
In Content structure, select Create content. There, under Content, you should see Point 2D content type you just added. Click it to create new content.
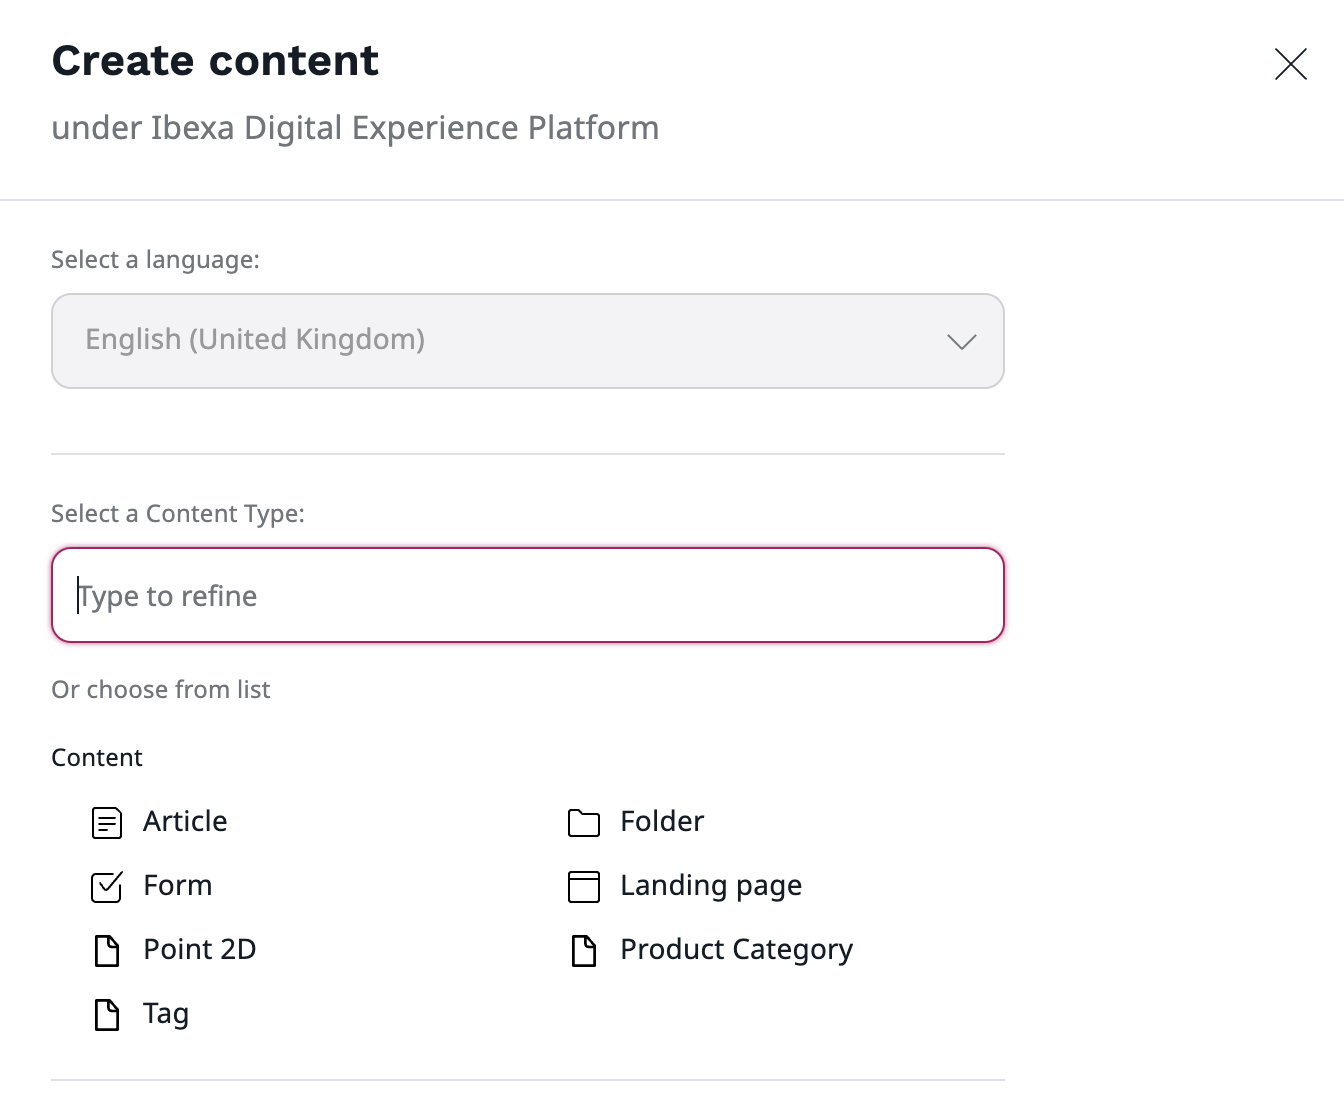
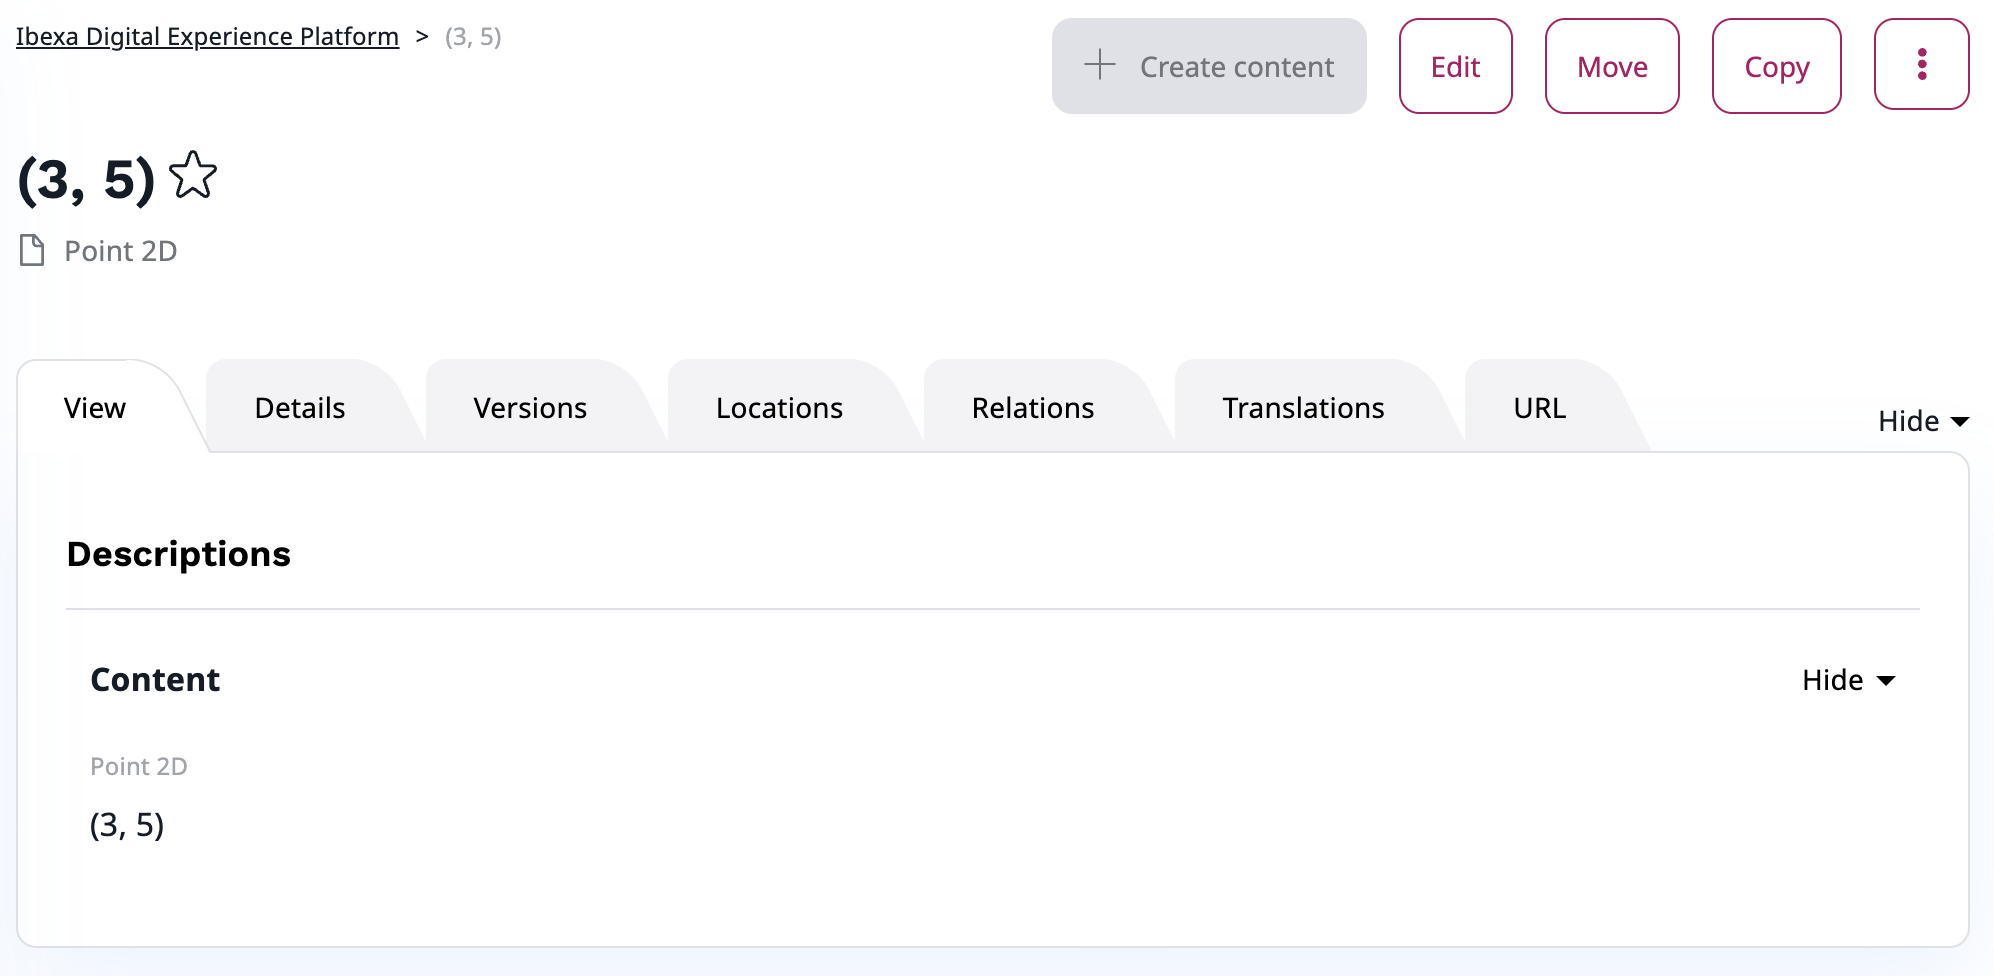
Here, you can fill in coordinates of your point, e.g. 3, 5. Provided coordinates will be used as a title for a new point.
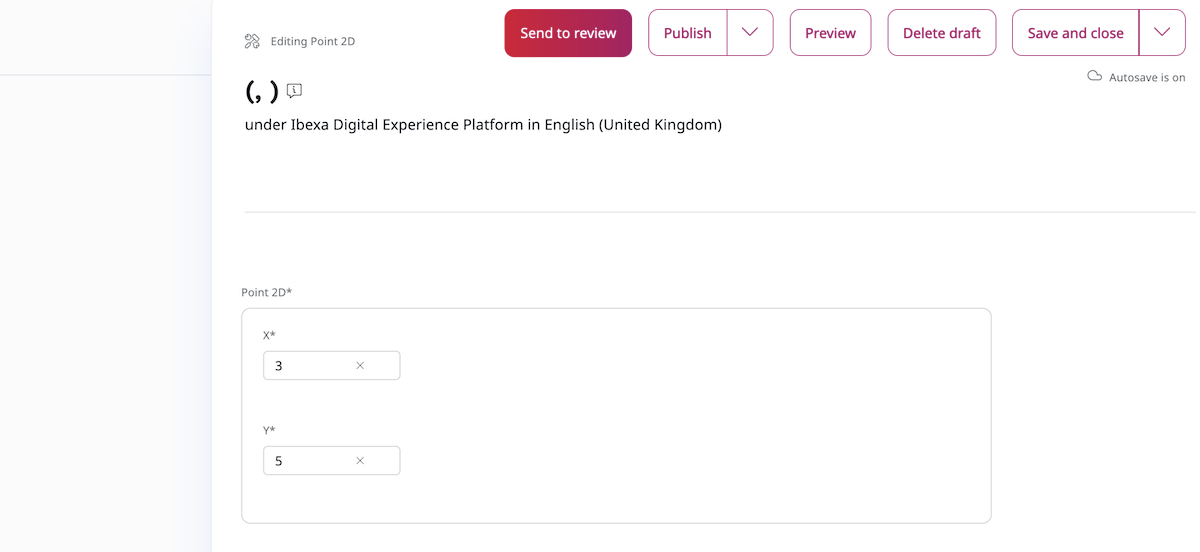
Click Publish. Now, you should see a new (3,5) point in the content tree.
Tip
If you cannot see the results or encounter an error, clear the cache and reload the application.